How To Install A
Mosaic Tile Splashback
In Your Kitchen
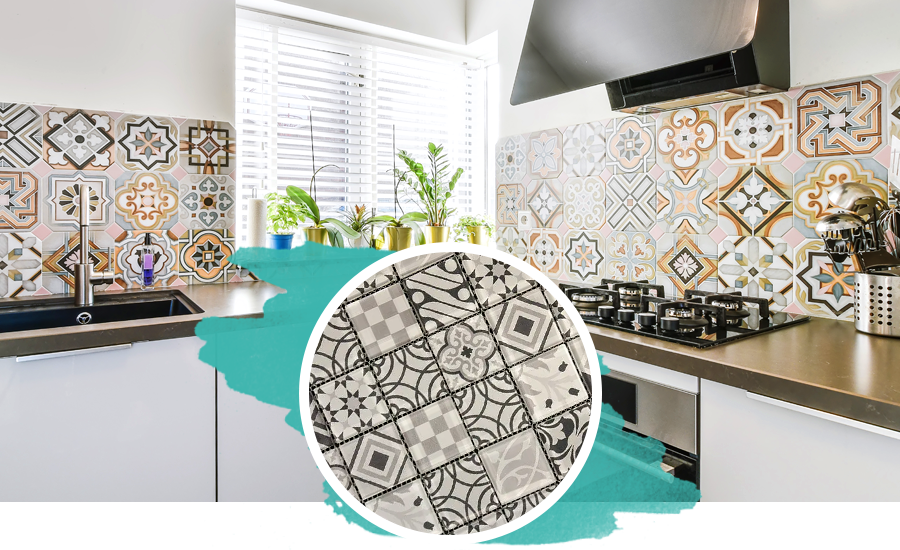
A mosaic tile splashback in the kitchen is more than just a practical element designed to protect your walls from cooking splatters and spills. It is a significant design feature that has the power to transform the entire aesthetic of your kitchen, lending it an attractive, customised appeal that can reflect your unique style and personality.
The small size of the individual tiles allows for intricate designs, fluid transitions, and a level of detail that you wouldn't get with larger tiles or panels. A simple or complex mosaic pattern can become a remarkable piece of art adorning your kitchen, injecting a dose of elegance and charm into your cooking space.
So, whether you are an enthusiastic homeowner looking to undertake a new project, an interior designer seeking to expand your skill set, or simply curious about kitchen design trends, read on to learn more about using mosaic tiles for your splashback and how to install them in your kitchen space.
Why Choose Mosaic Tiles For Your Splashback?
When you're in the midst of a kitchen renovation or redesign, one of the decisions you'll find yourself faced with is the type of splashback to install.
Given the countless options available in terms of materials, colours, and styles, this decision can seem daunting. Among all these possibilities, why should you consider choosing kitchen mosaic tiles for your tile splashback?
A Wide Range of Design Options
One of the primary reasons is the exceptional design flexibility mosaic tiles offer. This comes not only from a nearly infinite array of colours and textures but also the sizes, shapes, and materials you can choose from.
Whether you're looking for the iridescent shimmer of glass kitchen tiles, the organic texture of stone, the rustic charm of terracotta, or the modern sleekness of metal, there's a mosaic tile to suit your style. You can mix and match these options to create a truly bespoke look. The small size of mosaic tiles allows for complex patterns and designs, from simple geometric layouts to intricate murals, adding an artistic touch to your kitchen.
A Luxury Finish For Your Home
What’s more, mosaic tiles allow you to achieve a stunning finish to your kitchen refurbishment. A well-installed, beautiful mosaic tile splashback adds an element of luxury and refinement to your kitchen, providing you with a beautiful living space and also acting as a major selling point should you decide to sell your home in the future.
Long Lasting & Durable
Another compelling advantage of mosaic tiles is their robustness and durability. Kitchens are busy places where spills, splashes, and heat are part of daily life, and thankfully, mosaic tiles are up to the task.
Most materials used for mosaic tiles are extremely resilient and can withstand the heat from your stovetop, the moisture from your sink, and the occasional splash of sauce or wine. They're designed to last, maintaining their colour and finish for years, even with regular use.
Easy To Care For
Let's not overlook the ease of maintenance. Given their durability, mosaic tiles simply require a wipe with a damp cloth to remove most spills. In the event of more stubborn stains, a mild cleaning solution will usually suffice.
Their low porosity, particularly if opting for glass or ceramic, means they don't absorb stains or odours, which is a real boon in a kitchen. Additionally, should a tile become damaged, you can replace that single tile instead of the whole splashback, making it a cost-effective long-term choice.
Installing a Mosaic Splashback: Tools & Materials Needed
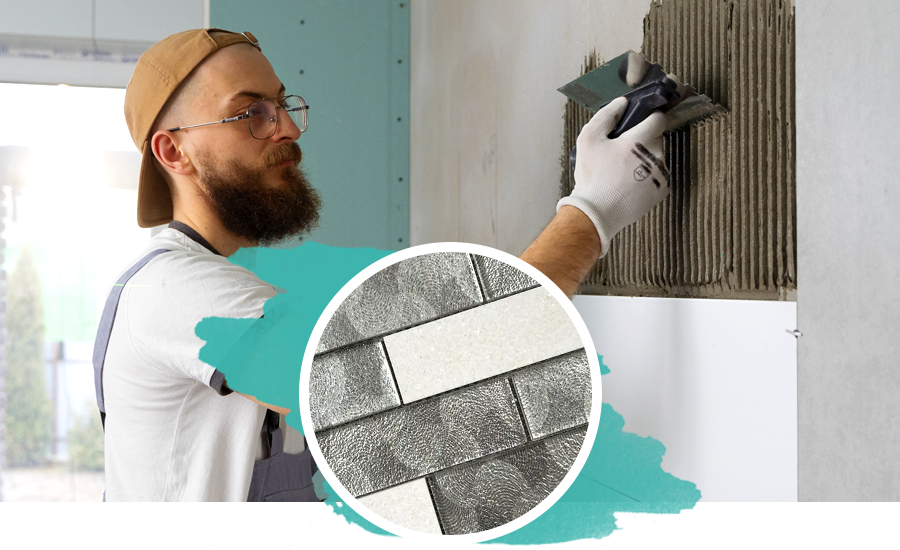
Installing a mosaic tile splashback in your kitchen is an exciting project that, while requiring some care and precision, is entirely feasible with the right set of tools and materials.
Before you embark on this journey, it's important to assemble all the necessary supplies. Here's what you'll need:
Tile Adhesive
This is what keeps your tiles affixed to the wall. Opt for a high-quality adhesive suited for the type of mosaic tiles you've chosen. Some mosaic tiles require specific adhesive, so make sure to check the instructions of your specific tile option.
Tile Spacers & Cutters
These small but essential tools ensure consistent spacing between your tiles. This helps maintain the alignment and overall uniformity of your design. Depending on your design, you might need to cut tiles to fit around outlets or along the edges of your splashback. A tile cutter or a wet saw will ensure clean, precise cuts.
Sponge
A good sponge is crucial for the grouting stage, allowing you to clean off excess grout from the surface of the tiles without disturbing the grout lines.
Grout & Sealant
Tile grout fills the spaces between your tiles, providing a finished look and preventing moisture from seeping behind the tiles. You can select a grout colour that matches, contrasts with, or complements your tiles, depending on the look you're going for.
Sealant is especially important if you've chosen natural stone or another porous tile material. A sealant protects your tiles and grout from moisture, stains, and potential damage, ensuring the longevity of your splashback.
Notched Trowel
A notched trowel is used to apply adhesive to your wall. The notches create ridges in the adhesive, which helps in getting a firm bond when the tiles are placed on it.
Level
It's important to ensure your tiles are laid straight and level. A traditional spirit level or laser level can help you accomplish this.
Pre-Installation Steps: Before Installing Your Mosaic Tile Splashback
Before you dive into the installation process of your mosaic tile splashback, there are several important steps to consider. By preparing thoroughly and taking the time to carry out these steps, you can ensure a smoother installation process and a more polished final result.
Measuring The Area
Accurate measurement of the splashback area is crucial to ensure you order the right amount of materials and avoid wastage or shortages midway through your project. Using a tape measure, calculate the height and width of the area you plan to tile.
It’s best to measure twice to confirm accuracy. Once you have these measurements, multiply them to get the total square footage. It can be worth always adding an extra 10% to account for cuts, breakages, and future repairs.
Choosing Your Tiles
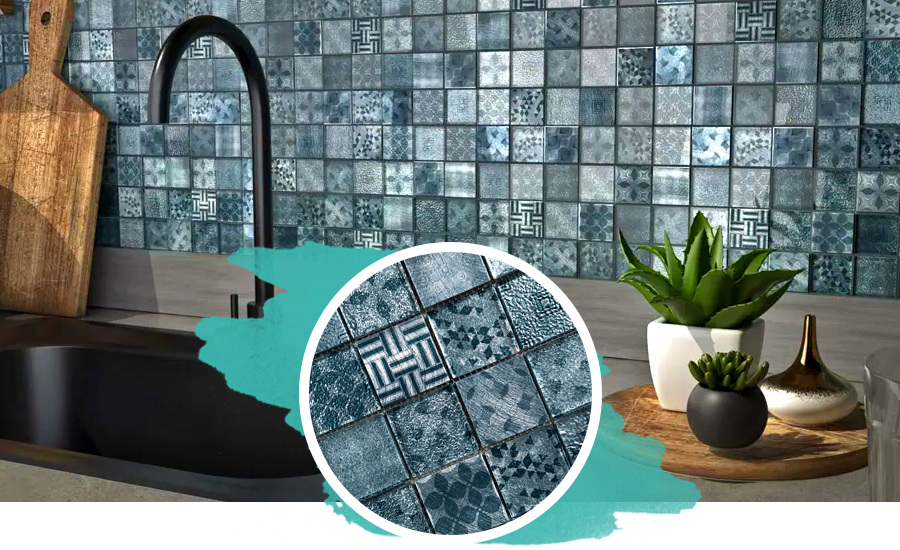
Perhaps the most vital step before installation can begin, is choosing the tiles you’d like to install. Selecting the perfect mosaic tiles for your kitchen splashback is not only about the visual appeal; it's also about finding a solution that aligns with your lifestyle, cooking habits, and maintenance preferences.
There's a wide variety of mosaic tiles available, each offering unique qualities in terms of durability, maintenance, and aesthetics.
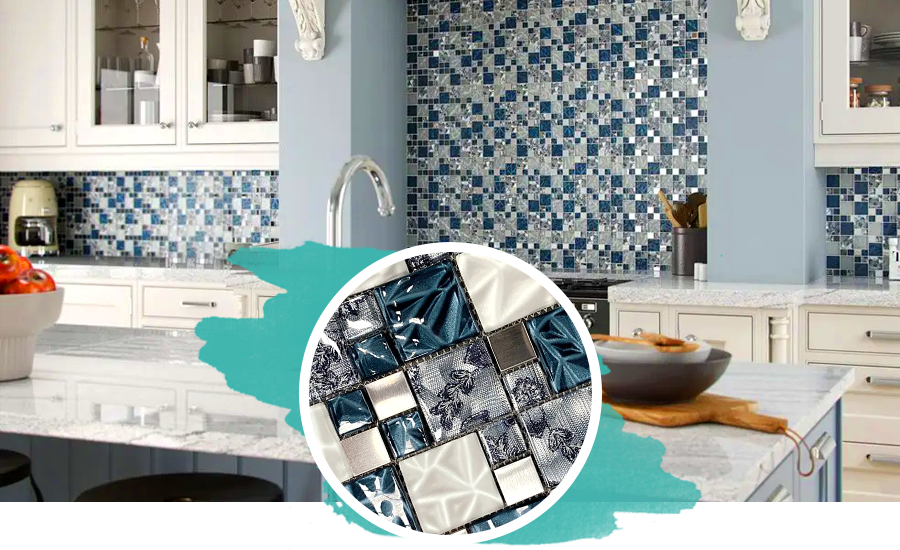
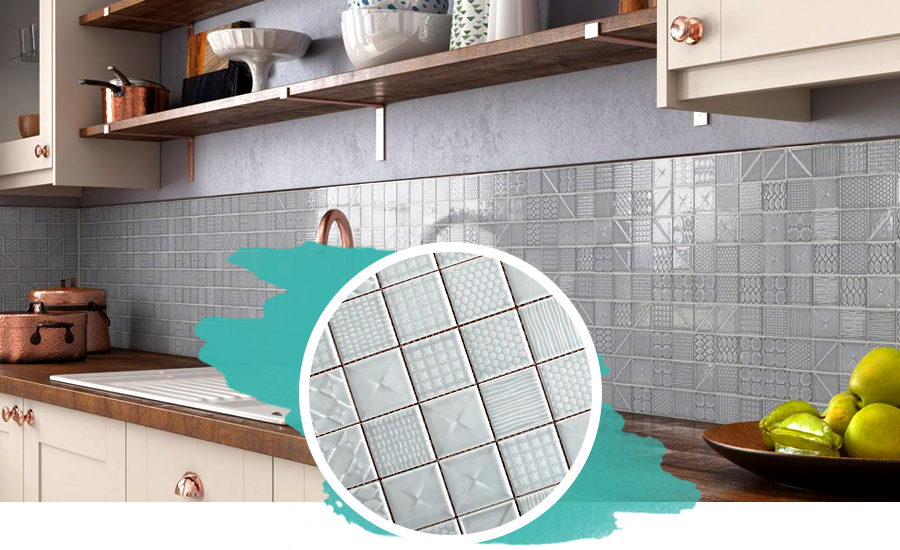
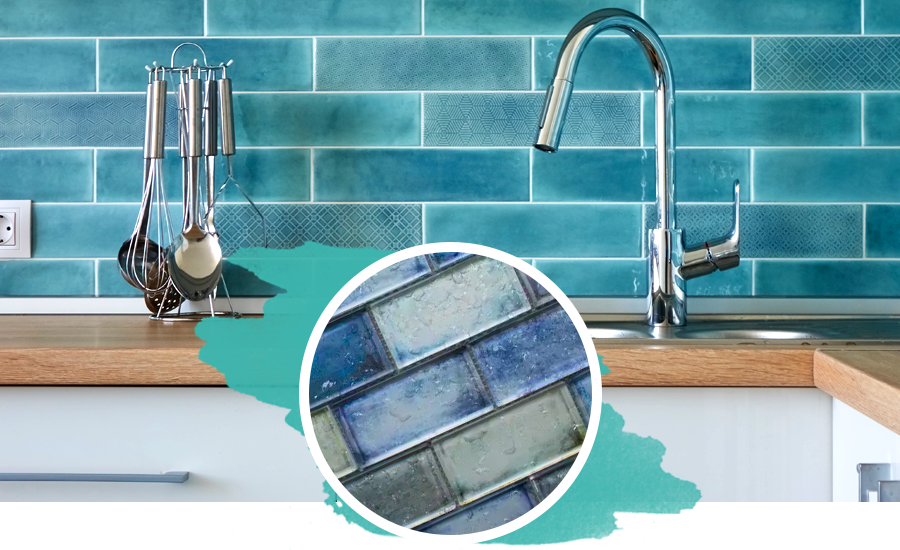
Glass Mosaic Tiles
If you're looking to add a touch of modern elegance to your kitchen, glass mosaic tiles could be a perfect choice. They have a reflective quality that bounces light around the room, making your kitchen feel brighter and larger.
Glass mosaics make a great option for the kitchen as they're also resistant to stains, mould, and mildew, making them a hygienic choice. Glass tiles come in an extensive palette of colours, from bold hues to subtle tones, allowing you to create the precise look you want.
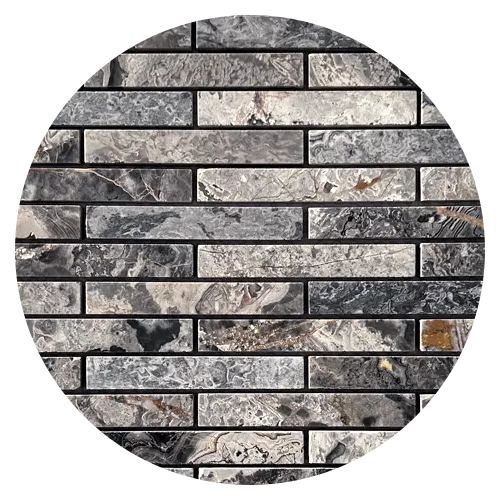
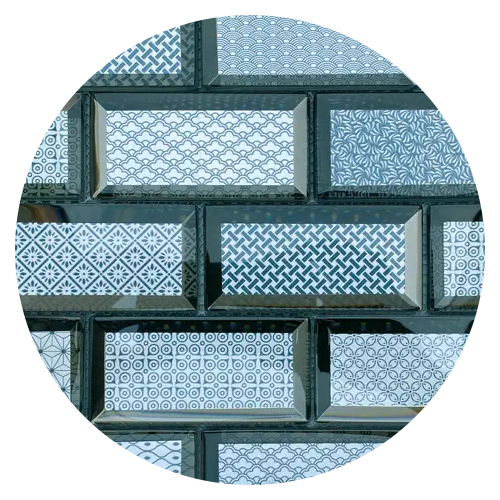
Brick Mosaic Tiles
For an interesting and stylish finish to your kitchen, consider brick mosaic tiles. Available in a range of options including glass, marble, stone and even mixed materials, brick pattern mosaics make achieving a perfectly aligned pattern easy, as they are usually attached to a backing sheet so that the alignment and spacing is already taken care of.
Choosing a brick mosaic splashback will provide a timeless yet contemporary look that suits any style of kitchen.
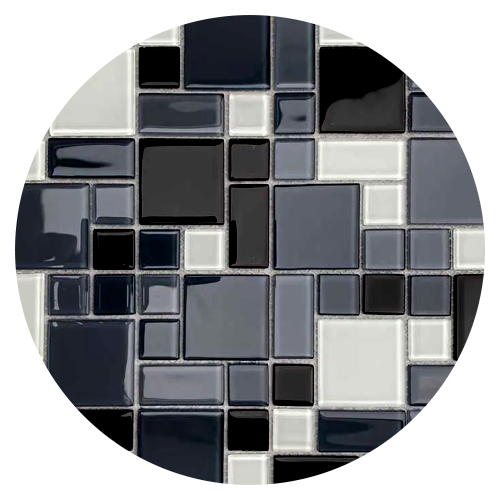
Mixed Mosaic Tiles
If you're after a unique, custom look, mixed mosaic tiles could be your best bet. These mix different materials, like glass, stone, or metal, in one mosaic sheet, creating a highly individual look. Mixed mosaics are perfect for creating a focal point or feature wall in your kitchen, offering a beautiful combination of textures, colours and tones all in one feature.

Coloured Mosaic Tiles
If you're not afraid to play with colour, coloured mosaic tiles offer unlimited creative possibilities. From vibrant blue mosaic tiles and greens for a Mediterranean vibe, to sophisticated monochrome schemes for a modern, urban look; the options are virtually endless. Remember, your colour choice should not only reflect your personality but also harmonise with the overall colour scheme of your kitchen.
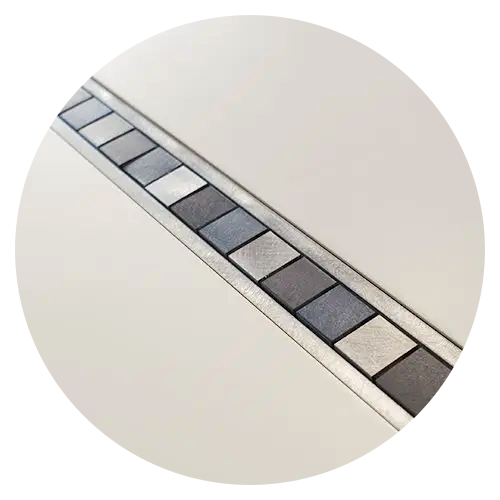
Border Mosaic Tiles
If you're looking to add an extra layer of visual interest to your splashback, consider incorporating border mosaic tiles into your design. Border tiles are often used to create a distinctive line or pattern around the perimeter of the splashback or to frame a certain area, acting like a piece of architectural jewellery for your kitchen.
Preparing The Wall
Once you’ve measured your wall and bought your tiles, it’s time for the work in your kitchen to begin. Properly preparing the wall for a mosaic tile splashback installation is an integral part of the process, and it's crucial not to overlook or rush this step.
Inadequate preparation could lead to uneven tile placement, weak adhesion, or even damage to the wall or tiles over time. Here's a more detailed look at how to prepare your wall:
-
Cleaning The Surface: Your wall surface should be free of dirt, grease, and any other residues that could interfere with the adhesive bond. A solution of warm water and mild detergent will be sufficient for most cleaning needs. Also, be sure to rinse thoroughly and let the wall dry completely before moving on.
-
Remove Obstacles: If there are any fixtures, like light switches or electrical outlets in the area where the splashback will be installed, it's important to remove or temporarily displace them. Be sure to turn off the electricity to these fixtures before beginning any work.
-
Assess & Repair: Inspect the wall for any loose paint, wallpaper, or old adhesive that could prevent the tiles from adhering correctly. Any cracks, chips, or other damage in the wall should be repaired, and any nails or screws should be removed.
-
Check For Level: Use a level to ensure that the wall is even. If there are any significant uneven spots, they should be corrected. Small imperfections can be evened out with the adhesive, but larger ones might require more substantial repair work, like applying a layer of plaster or installing a new piece of drywall.
-
Priming The Surface: If the wall surface is very porous, it may absorb the water from the adhesive, causing it to dry too quickly. In such cases, applying a primer can help to create a more uniform and suitable surface for the tiles.
-
Marking: Use a pencil to mark the midpoint of your wall, both horizontally and vertically. This will be your starting point for laying tiles and will help ensure your design is centred.
Mosaic Splashback: Step-By-Step Installation Process
With your tiles to hand and your wall properly prepared, it's time to start the installation process. Following these steps will help ensure a successful installation of your mosaic tile splashback:
Applying The Adhesive
Begin by applying the adhesive to a small section of the wall using a notched trowel. The notches on the trowel will create ridges in the adhesive, which help to secure the tiles in place and ensure an even application.
Start in the centre of your marked area and work outwards, spreading the adhesive evenly. Ensure the adhesive is thick enough to hold the tiles but not so thick that it squishes out between them. Remember to work in manageable sections to prevent the adhesive from drying out before the tiles are placed.
Cutting Tiles For Edges
When you reach the edges of your splashback or encounter outlets, you'll need to cut tiles to fit. Measure the remaining space carefully, then mark the required size on the tile with a pencil. Use a tile cutter or a wet saw to make the cuts, ensuring you wear safety glasses to protect your eyes. Depending on how your mosaic sheet fits to the cut point, you might find it easier to remove individual pieces of the mosaic from the backing and cut them individually. Once you have your pieces cut, check that they fit correctly into the intended space before applying adhesive to the wall and place your cut tiles as you did with the full tiles.
Sealing The Tiles
The final step in the installation process is sealing the tiles. If you’re using a material such as glass, you might not need to seal the surface. However, for more porous materials such as stone, sealing helps to protect the tiles and prevents them from absorbing moisture or stains. Once the grout is completely dry, apply a tile and grout sealant- typically, you'll apply the sealant with a brush or sponge, wait for it to soak in, then wipe away any excess.
Laying The Tiles
Starting from the centre of your marked area, gently press your mosaic tiles into the adhesive. If you're working with mesh-backed mosaic sheets, this step can be relatively quick, but ensure the edges of each sheet align correctly with each other to maintain a seamless pattern.
Using tile spacers can help keep your tiles evenly spaced and aligned. You should also use a level to ensure that each section of mosaic is fixed straight in horizontal and vertical directions. A spirit level is useful for this, while a tool such as a laser level that projects a straight line onto the wall can make the process even more efficient.
Make sure to occasionally step back and check the alignment of your tiles from a distance, and adjust as necessary while the adhesive is still wet.
Applying The Grout
Once the adhesive has fully dried, it's time to apply the grout. Grouting mosaic tiles is an important step that helps to finish and secure the installation.
Use a grout float to spread the grout across the tiles, pressing it firmly into the spaces between each tile. Be sure to work it into all the joints to avoid leaving any gaps.
Once the grout has been applied, wait for about 10-15 minutes, then use a damp sponge to wipe away any excess grout from the tile surfaces. Be gentle to avoid removing grout from the joints- the sponge should be rinsed frequently during this process.
Maintenance Tips For Your Mosaic Tile Splashback
Once you've successfully installed your mosaic tile splashback, the next important step is learning how to properly maintain and clean it to ensure its longevity and keep it looking its best.
Regular cleaning forms the basis of good maintenance; most spills can be wiped away with a damp cloth or sponge and everyday cleaning can generally be accomplished with a mixture of warm water and mild detergent. It's essential to prevent spills from sitting for too long as they can stain the grout or tiles, especially if they're porous.
Over time, you may notice a buildup of cooking grease, soap scum, or hard water, which will necessitate a deep cleaning using a commercial tile cleaner. Always ensure it is safe for your tile material and test on a small, inconspicuous area first.
Grout can become discoloured over time, particularly if it's light in colour. A grout cleaner and a small brush, such as an old toothbrush, are usually sufficient for tackling grout stains, but for tougher stains, a grout stain remover may be needed.
It's important to avoid abrasive cleaners as these can scratch certain types of mosaic tiles, particularly glass or polished stone ones. While we all strive to prevent damage, occasionally a tile may crack or chip. The good news is that you can replace a single tile without having to replace the entire splashback.
Mosaic Tile Splashback FAQs
Can I Install Mosaic Tiles Myself, Or Should I Hire A Professional?
While installing mosaic tiles for a kitchen splashback can be a DIY project, it does require patience, precision, and a certain level of skill. If you are comfortable with using tools like a tile cutter and have some experience with home improvement projects, you might enjoy the challenge and the satisfaction of doing it yourself.
You will need to be precise with measurements, careful with tile placement and have enough patience to allow for proper drying times between stages. However, if the area to be tiled is large, the wall surface is uneven, or you want to create a complex design, hiring a professional could save you time and ensure a high-quality result. Professional tilers have the expertise to overcome challenges and can often complete the job faster and with a higher level of finish.
What Is The Best Adhesive For Mosaic Tile Splashback?
The type of adhesive best suited for your mosaic tile splashback depends on the material of the tiles and the conditions of your kitchen. Generally, a polymer-modified thin-set mortar is often recommended for mosaic tiles due to its strong bonding properties and resistance to heat and moisture.
However, for glass tiles, a white thin-set mortar is typically used as it has a lighter colour that won't show through the transparent glass.
How Do I Cut Mosaic Tiles For My Kitchen Splashback?
Cutting mosaic tiles requires care to avoid breakages and achieve clean lines. A manual tile cutter can be used for ceramic or porcelain tiles, but for glass, stone, or mixed material mosaic tiles, a wet saw is generally more effective and can lead to cleaner cuts.
When cutting tiles, it's crucial to measure accurately and to cut from the back of the tile where the mesh or paper backing is. Also, always ensure that you're using appropriate safety equipment like gloves and safety glasses.
Do You Grout Between Mosaic Tiles?
Yes, applying grout between your mosaic tiles is a crucial step that should not be skipped. Grout serves several purposes; it enhances the appearance of the tiles by providing a finished look, it strengthens the installation by binding the tiles together and adding stability, and it prevents moisture and debris from getting behind the tiles, which could lead to damage over time.
When applying grout, make sure it fills all the spaces between the tiles and always wipe away any excess from the surface of the tiles before it dries. The colour of the grout can dramatically affect the final look of your splashback, so choose a colour that complements your tiles.