A Guide To Grouting Mosaic Tiles
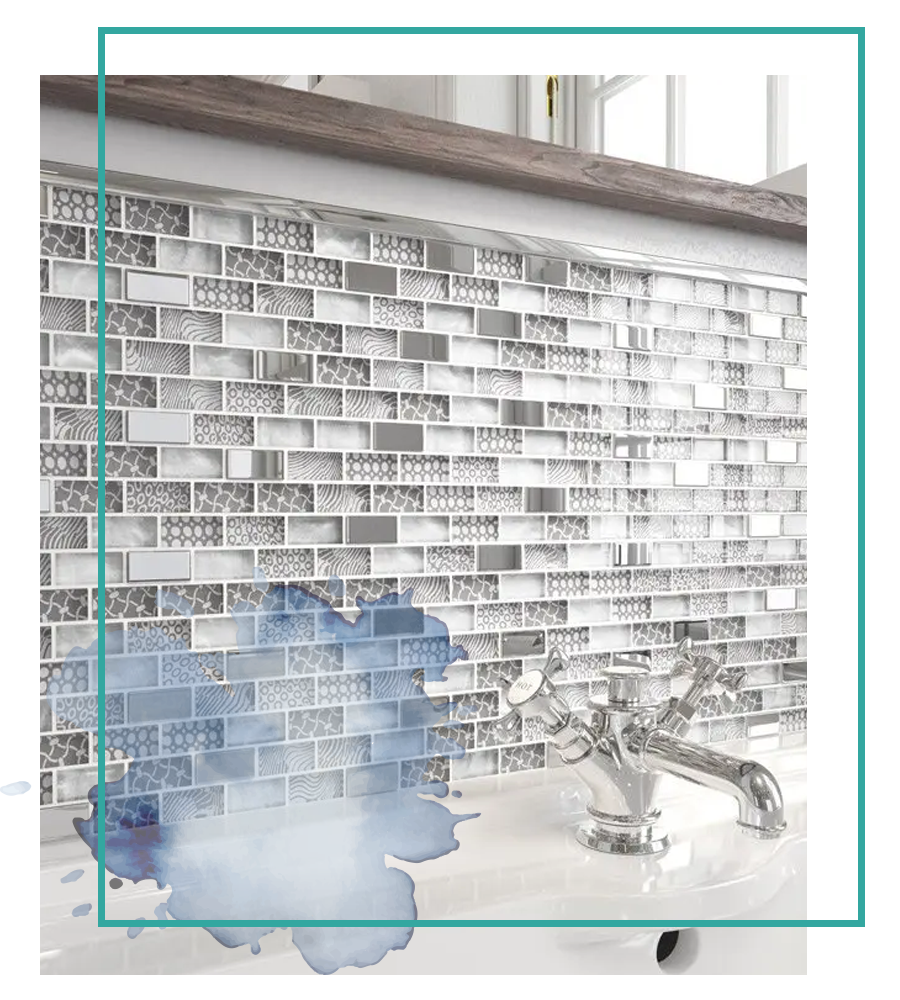
Mosaic tiles are a great way to add a unique and creative look to your home. Whether you want to spruce up your kitchen backsplash or create an eye-catching feature wall in your bathroom, mosaic tiles can help you achieve a beautiful finish.
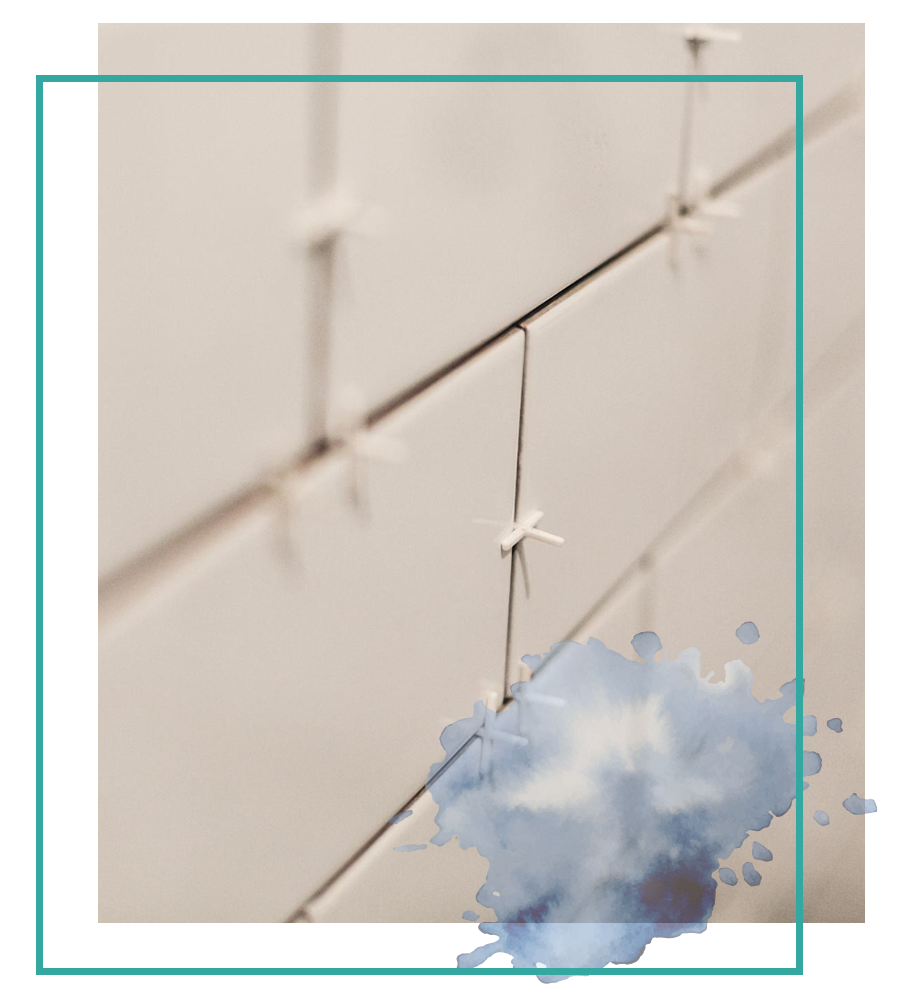
When thinking about
how to install mosaic tiles, it’s important to ensure that your project is completed correctly and securely. Grouting mosaic tiles is an essential step in this process, helping to protect your newly installed mosaic surface and adding a finished look to the design.
This guide will explain everything you need to know about grouting mosaic tiles, from what materials you’ll need to how to apply the grout correctly. We’ll also look at how to clean and maintain your newly grouted mosaic tiles for years of enjoyment. With these steps, you’ll be able to complete your own stunning mosaic tile project with confidence.
What Is Tile Grout & Why Is It Important?
Grout is a type of cement-based material used to fill in the gaps between tiles. It helps to protect against water damage and provides a finished look to the design. Grouting also helps keep the tiles secure and prevents them from shifting or cracking over time.
In addition, grout helps create a waterproof seal between the tiles and the substrate, which can help prevent mould and mildew growth. Without grout, your mosaic tile project will not be as durable or long-lasting as it should be. Therefore, grouting is an essential step for any tile project, no matter how big or small.
Different Types Of Grout
When grouting mosaic tiles, there are several different types of grout to choose from.
The most common type is sanded grout, which is made with a combination of cement, sand and water. This type of grout is ideal for filling in larger gaps between tiles as it provides a strong and durable finish.
Unsanded grout, on the other hand, is made with just cement and water and is best used for smaller gaps. It creates a smooth finish that won’t crack or chip over time.
Epoxy or polymer grout is another option, which is highly resistant to staining and moisture. However, it can be more difficult to work with as it requires several materials to be mixed together in specific ratios, is less flexible and often dries more quickly so there’s less time to work.
Grouts typically come in powder form, which then need to be mixed with water before using. There are also premixed grouts available that come in a variety of colours and finishes. These are easy to use but may not provide the same level of durability as the other types of grouts.
How Much Grout Do I Need For Mosaic Tiles?
The amount of grout you need for mosaic tiles depends on:
-
The size and shape of the tiles
-
The size of the gaps between the tiles
-
The size of the area being tiled
As a general rule, when tiling you should plan on using about 1 kg of grout for every 5 square metres of tiled surface. However, this may vary depending on your specific project, particularly when it comes to grouting mosaics which can require a larger quantity of grout due to the increased number of spaces between smaller tiles.
How To Grout Mosaic Tiles
Materials & Equipment
When grouting mosaic tiles, you will need several pieces of equipment in addition to the grout itself. These include a grout float, a damp sponge, a bucket of clean water and some tile cleaning solution.
You may also need a sealer to protect the grout from staining or discolouration over time. Additionally, it’s important to make sure you have protective gloves and eyewear to keep yourself safe during the process.
Preparation Tips
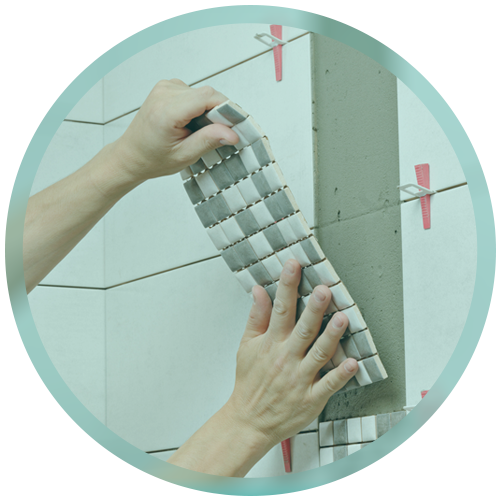
Before you begin grouting mosaic tiles, it’s important to make sure that all of the tiles are securely attached to the surface. You should also check that the tiles are level with each other. Once everything is in place, it’s time to mix up your grout according to the manufacturer’s instructions.
Before applying the grout, you may want to use a sealer on the tile surface to protect over long periods of time, particularly if you are using a natural and more porous material like stone mosaics. Finally, make sure you have all of your materials ready so that you can easily access them when needed.
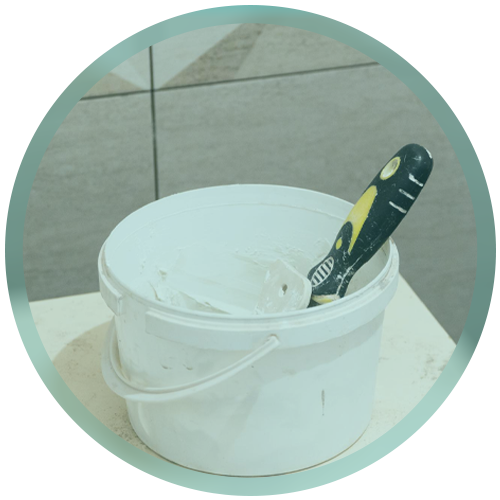
Mixing The Grout
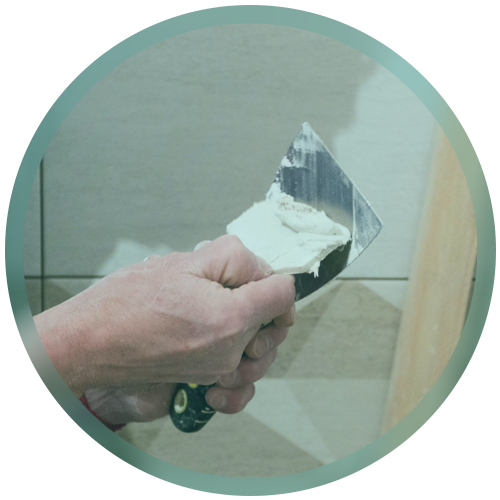
When mixing grout for mosaic tiles, it’s important to follow the manufacturer’s instructions carefully. This will ensure that you get the right consistency and that your grout is properly mixed. Start by adding water to the dry mix and stirring until it reaches a creamy consistency.
You can mix grout by hand using a bucket and a trowel, or by using a mixing attachment for an electric drill or a more specialised paddle mixer. There are also dedicated grout mixing machines available, which may be suitable for larger projects.
It’s best to mix small batches at a time so that you can use the grout before it starts to set. If you need to add more water or powder, make sure to do so in small increments so that you don’t end up with an overly thin or thick mixture. Finally, make sure to keep your grout covered when not in use so that it doesn’t dry out.
Grouting Your Mosaics
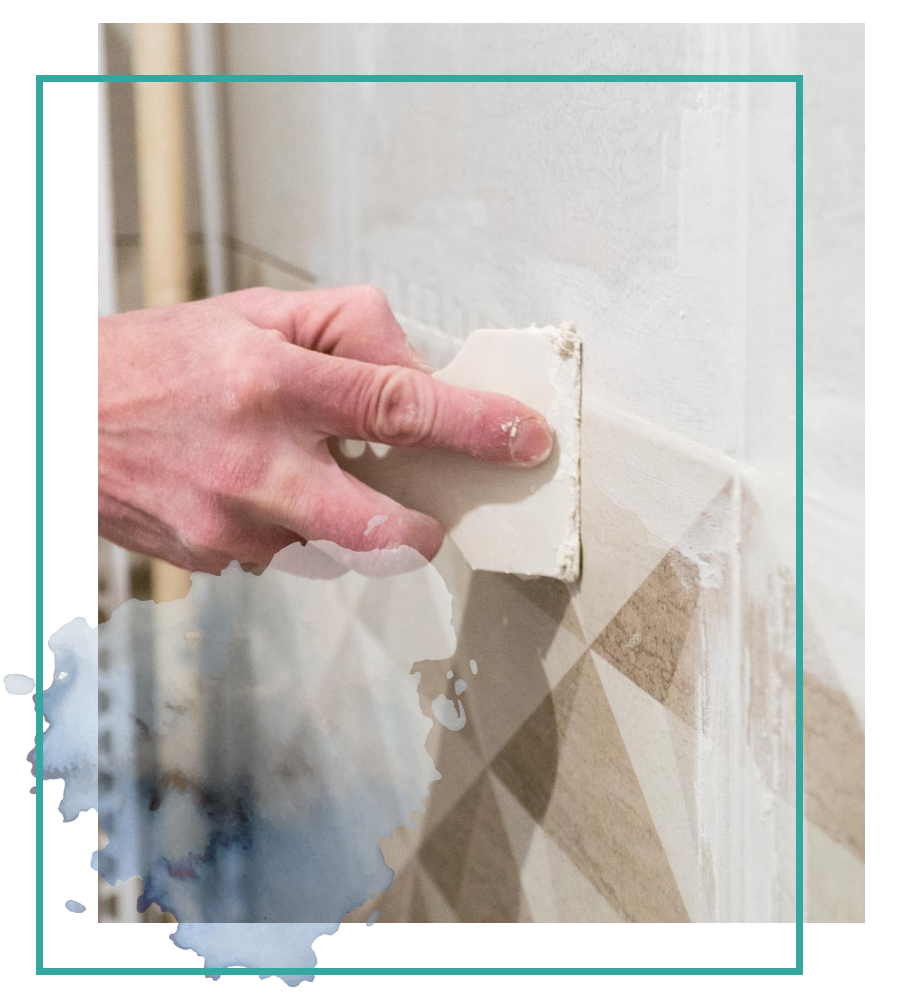
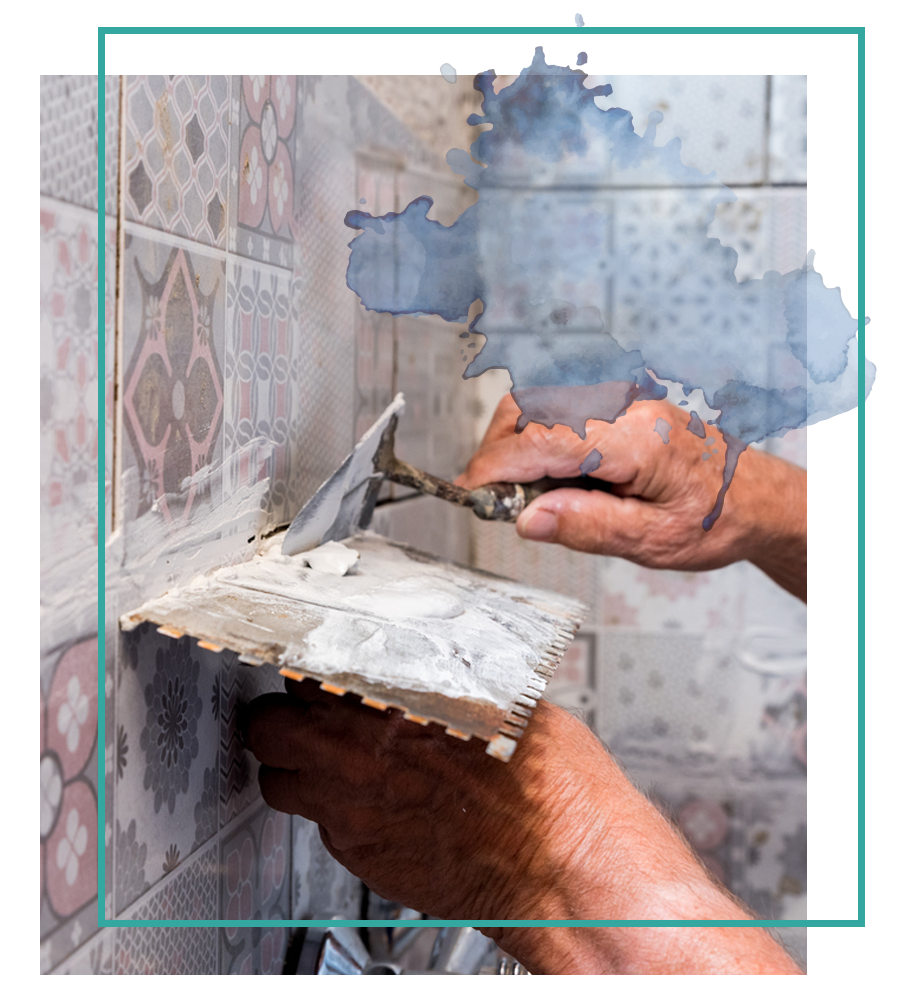
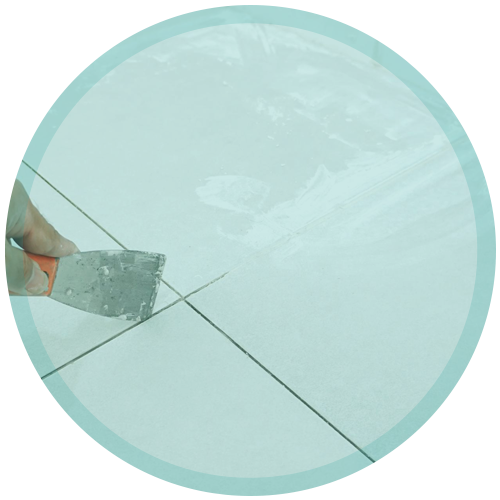
Once you have mixed your grout, it’s time to begin grouting the mosaic tiles. Start by applying a thin layer of grout across the entire surface.
You should use a grout float to press it into the gaps between the tiles and make sure that they are completely filled. Move the grout float diagonally across the tiles to help ensure that the grout is pushed into all the spaces.
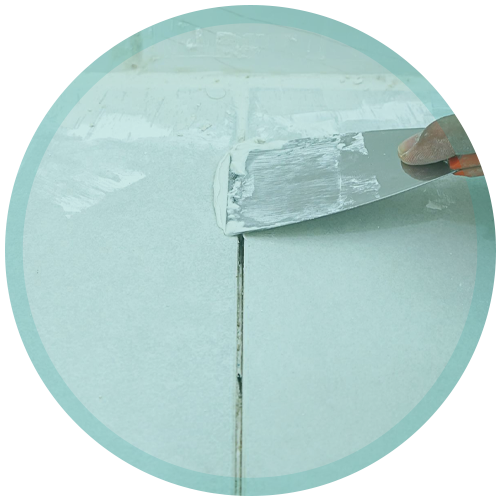
As the grout begins to dry, you can wipe off any excess with a moist grout sponge. Move the sponge gently along the grout lines, and also wipe perpendicular to the lines to remove grout from the surface of the tiles without removing it from the joints.
Verify The Total Grout Coverage
Once you’ve finished grouting the mosaic tiled surface, it’s important to check that your grout coverage is complete. To do this, you can use a flashlight to look for any gaps or missed spots. If you find any, simply add more grout and smooth it out with a damp sponge.
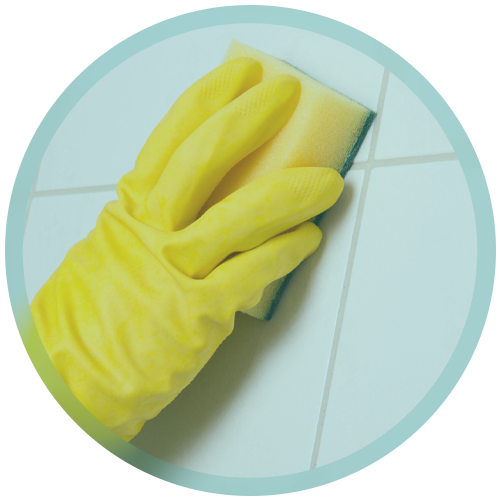
Cleaning With A Grout Sponge
When you’re happy with the grouting process, it’s important to clean up any remaining excess grout with a damp sponge. Start by dipping the sponge in a bucket of clean water and wringing out the excess.
Gently wipe away any residue that is still present on the tile surface. You may need to use some tile cleaning solution if there are any tough stains that won’t come off with just water. Finally, rinse the area with clean water and let it dry before admiring your finished project!
Clean The Haze
Even after cleaning up your grout, you may notice a white haze on the surface. This is caused by excess grout that has dried onto the tile and can be easily removed with a damp cloth.
Simply wipe over the tiles for a deep clean and rinse off for a clean and finished look. You might need to repeat this process several times to remove all the grout. Use clean water each time, and repeat until the water remains clear when you rinse your sponge in your bucket.
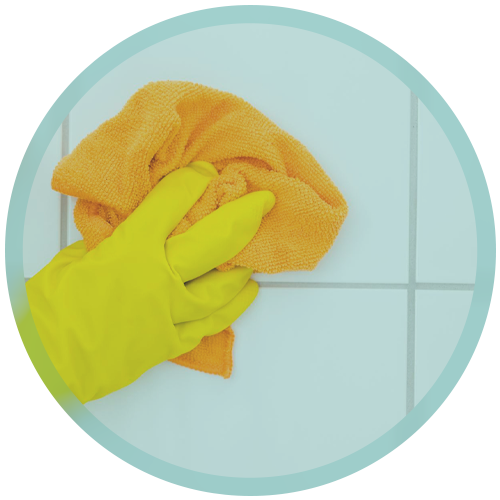
Buff To Finish
Once you are happy that you’ve removed all the excess grout from the surface of the tiles, leave them to dry completely. Once dry, gently buff the surface with a clean lint-free cloth to remove any remaining residue and give your tiles a final polishing.
Top Tips For Selecting Your Grout Colour
When selecting a grout colour for your mosaic tile project, you should consider the overall look and feel of the room. Generally, it’s best to choose a colour that is similar to the tiles or one that complements them. If you are using tiles with multiple colours, then you may want to opt for a neutral colour such as white or beige.
You can use darker shades of grout to create a bolder contrast between the tiles. Additionally, some grouts come in a variety of textures and finishes so you can pick one that best suits your design aesthetic. Ultimately, when selecting a grout colour, it’s important to think about how it will look with the overall design of your project.
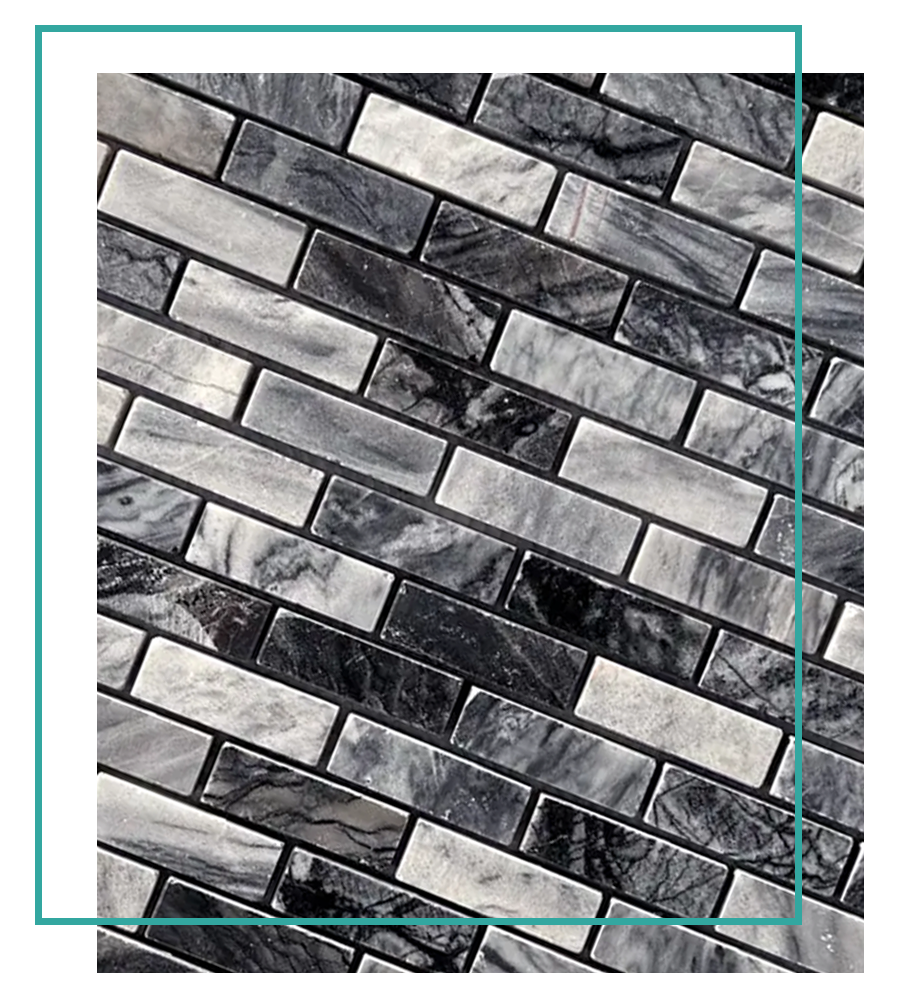
One of the most popular grout and tile colour combinations is white mosaic tiles with white grout. This timeless look creates a clean and classic aesthetic that can be used in any room. Another popular combination is black or grey tiles with grey grout, which adds a modern touch to the design.
This style can also be flipped, for example using white tiles with a black or dark grey grout can give a contemporary and stylish look. For a more dramatic effect, you can choose dark tiles such as navy or charcoal and pair them with light grout. These darker shades create an eye-catching contrast that will make your mosaic tile project stand out.
Finally, if you’re looking for something a bit more unique, you can try pairing colourful grouts with more neutral tiles for a look that pops. For example, try using blue or green grout with white or pastel coloured tiles.
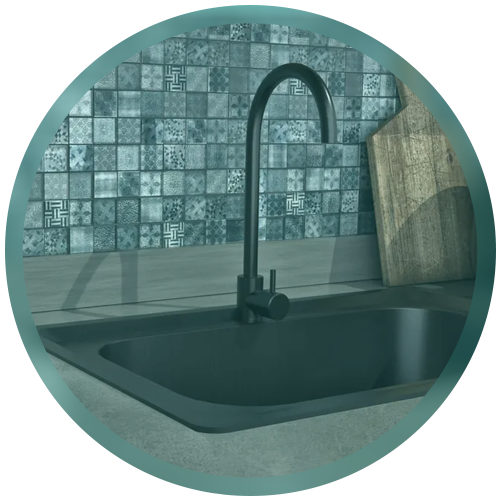
How To Care For Your Tiles
When caring for your mosaic tiles, there are a few key tips to keep in mind. Whether you’re maintaining kitchen or bathroom tiles, or want to look after tiles anywhere else in your home, it only takes a little bit of attention to keep your tiled surfaces looking their best for years to come.
First, it is important to avoid using any abrasive cleaning products or tools on the tiles. While these may be effective at removing dirt and grime, they can also damage the delicate surfaces of the mosaics.
Additionally, it is important to use a mild detergent and warm water when cleaning the tiles. This will help to ensure that no damage is done while still providing an effective clean.
Finally, it is important to seal some tiles after installation and periodically thereafter. Sealing will protect the tiles from dirt and moisture, helping them last longer and look better for years to come. While not necessary on glass mosaics or porcelain tiles, some materials such as natural stone may need sealing to protect their surface.
How to Grout Mosaic Art & Other Creative Projects
Mosaic art crafts and projects are a great way to add a unique and personal touch to your home. Whether you have used leftover tiles to create a feature in your home or have decorative pieces made from mosaic, grouting them is key!
Grouting is the process of sealing your mosaic pieces together, and the process for art or other projects is very much similar to grouting other projects. Grouting gives your mosaic project a professional finish and helps ensure that it will last for years to come.
Start by mixing the grout according to the instructions on the package. Once the grout is mixed, you can use a grouting float to push the grout into the spaces between the mosaic tiles. To ensure that all the spaces are filled, use the grouting sponge to fill in any gaps, which might be necessary if you’re working on a surface that isn’t flat, for example if you’re grouting a lamp, vase or other object.
Once all the gaps are grouted, clean of any excess with a damp cloth. Just like when grouting a wall or floor, you might need to clean a few times in order to remove all the haze from the mosaics. Once you’ve finished, have a final check for gaps where grout is missing and fill as necessary. Then you can stand back and admire your work!
Mosaic Grouting FAQs
Do You Need To Grout Mosaic Tiles?
Yes, grout helps to fill any gaps between the tiles and provides a protective seal. This prevents dirt and moisture from getting into the spaces between the tiles, which can damage them over time. When choosing a grout for your project, make sure you select one that is compatible with the type of tile you are using.
How Long Should You Let Grout Dry Before Wiping The Mosaic Tiles?
When grouting mosaic tiles, it is important to allow the grout to dry before wiping the tiles. Generally, you should wait at least 15 minutes after spreading the grout before wiping off any excess with a damp sponge. This will give the grout enough time to set and bond with the tiles.
If you wipe too soon, you may end up removing some of the grout or damaging the delicate surfaces of your mosaic tiles. If you are unsure how long to let your grout dry, consult the manufacturer’s instructions for more information.
How Do You Grout Uneven Mosaic Tiles?
Grouting uneven mosaic tiles can be a bit tricky, but it is possible. First, you will need to spread the grout over the tile surface with a rubber float. Make sure to fill all spaces between each piece of tile and work the grout into any uneven areas. Once this is done, allow the grout to dry for about 15 minutes before wiping off any excess with a damp sponge.
Do You Seal Mosaic Tiles After Grouting?
It is important to seal some mosaic tiles such as stone or other porous materials, particularly if they are likely to come into contact with water. Sealing will help to protect the tiles from dirt and moisture, helping them last longer and look better for years to come.
You may also want to seal cement based grouts, although this is not necessary with epoxy or polymer based grouts. Check the instructions on your grout packaging to identify if it needs sealing. When choosing a sealant, make sure you select one that is compatible with the type of tile you are using, and make sure you follow the instructions on the sealant’s packaging for best results.
Can I Add More Grout After It Dries?
Yes, it is possible to add more grout after it has dried. However, this should only be done if the original grout was not applied correctly or if there are gaps between the tiles. If you do need to add more grout, make sure to use the same type of grout for the best results.