How to Cut Mosaic Tiles
for a Perfect Finish:
Tools, Tips & Techniques
Cutting mosaic tile sheets often requires a slightly different approach from cutting standard tiles. Because you're working with dozens of small individual pieces mounted on a mesh backing, the challenge tends to be one of precision and control.
Whether you're fitting sheets around a plug socket, trimming to meet a skirting board, or cutting individual tesserae to fill an awkward gap, understanding which tools and techniques to use for cutting mosaic tile sheets makes the difference between a professional finish and a frustrating afternoon.
This guide covers everything from the tools you'll need to the step-by-step methods that give clean, safe results on common mosaic materials.
Understanding Mosaic Sheet Construction
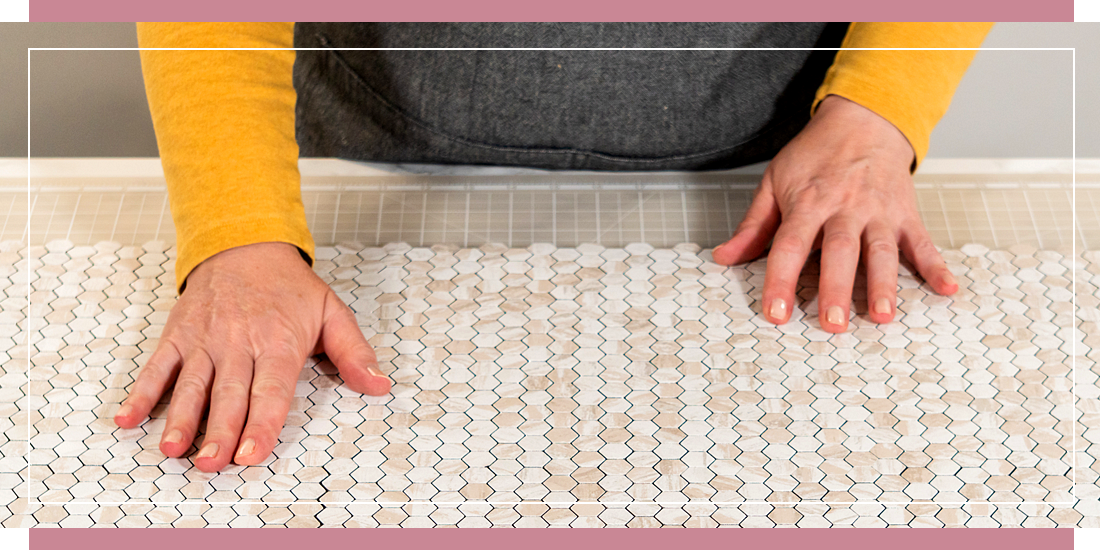
Before you pick up any cutting tool, it helps to know what you're actually cutting. Most mosaic tile sheets come in one of three formats:
Mesh-backed sheets bond individual tesserae to a fibreglass mesh with adhesive. These are the most common and the easiest to work with. You can cut through the mesh with scissors or a craft knife between tiles without disturbing the tiles themselves.
Paper-faced sheets have the tiles bonded face-down to a paper layer that's later soaked off after installation. Cutting is similar to mesh-backed sheets, but you'll work from the paper side.
Dot-mounted or rubber-backed sheets use a flexible rubber or silicone backing. These are common for stone and marble mosaics and require slightly more care when cutting, as the backing can pull at tile edges if your blade isn't sharp.
The material of the tiles themselves matters just as much as the backing. Glass tesserae chip differently from ceramic ones, and natural stone behaves differently again. Matching your cutting method to your material is the most important decision you'll make before starting.
Find out more: What Are Mosaic Tile Sheets & How Do They Work?
Tools for Cutting Mosaic Tile Sheets
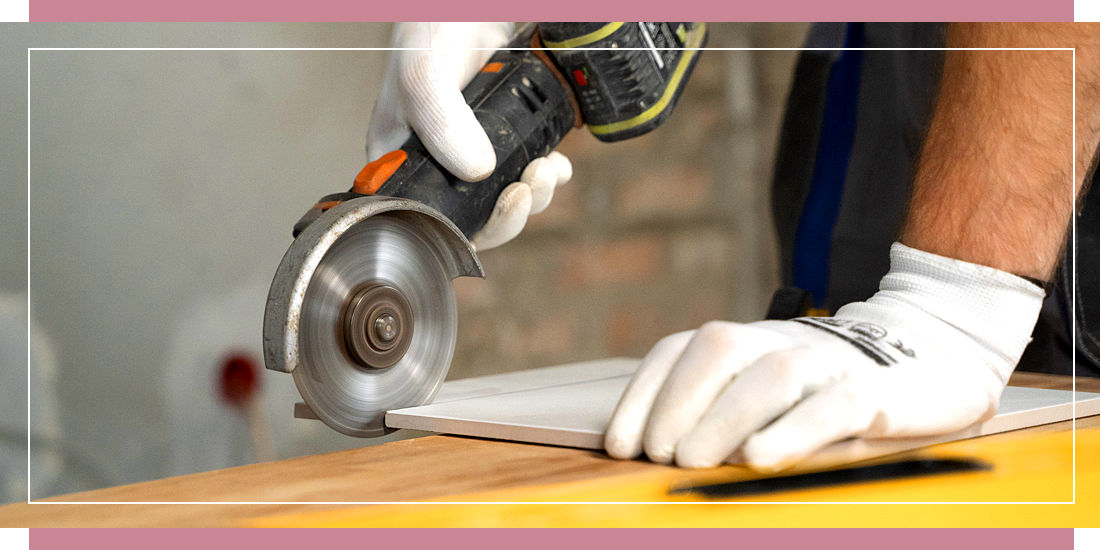
No single tool handles every mosaic cutting job. The right choice depends on whether you're trimming the backing between tiles, shaping an individual tessera, or making precise straight cuts through harder materials like porcelain or stone. Here's what to have on hand (and when to reach for each one).
Scissors and Craft Knives
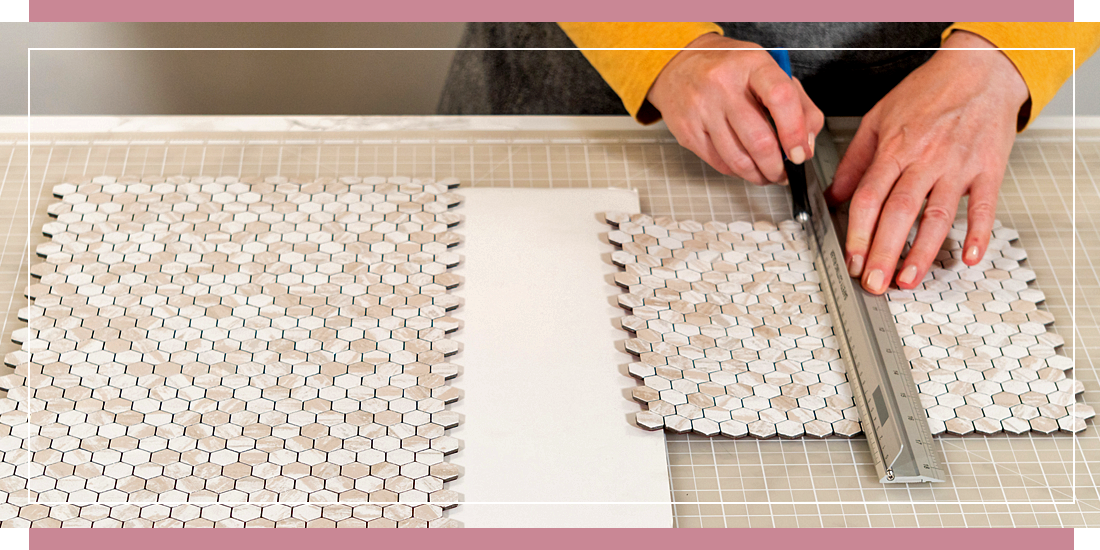
For mesh-backed and paper-faced sheets, the simplest cuts (straight lines between tile rows) need nothing more than a pair of scissors or a sharp craft knife and a steel ruler.
Run your knife along the mesh between tiles rather than through them, and the sheet separates cleanly. This is the technique for sizing sheets to fit a panel or reducing a sheet's width by one or two tile rows.
A craft knife is preferable to scissors when you need a straight line over a longer distance, as scissors can drift. Use a cutting mat underneath to protect your work surface and to keep the sheet flat.
Tile Nippers
Tile nippers are the core tool for cutting individual tesserae once you've separated them from the sheet. They work by applying concentrated pressure to a small point, causing the tile to fracture along a controlled line. They're particularly effective on glass and ceramic.
The technique is consistent: score or mark your line, position the nippers so the jaws align with it, and apply steady pressure rather than a sudden snap. Expect some irregular edges (nippers produce slightly rough cuts), which is usually acceptable in mosaic work because grout covers the joint. However, you can lightly sand the edges after nipping for a smoother finish.
Wheeled nippers (also called mosaic wheeled cutters) give more control than standard jaw nippers, especially on cutting glass mosaic tiles. The carbide wheels score a clean line before fracturing the tile, producing a sharper edge.
Wet Tile Saw
For straight, precise cuts through porcelain or natural stone mosaic tiles, a wet tile saw is the professional tool of choice. The water-cooled diamond blade produces clean edges with minimal chipping.
This method is slower but appropriate when you're cutting many tiles to the same dimension, such as trimming an entire edge row to fit against a wall.
Angle Grinder with Diamond Blade (Alternative Method)
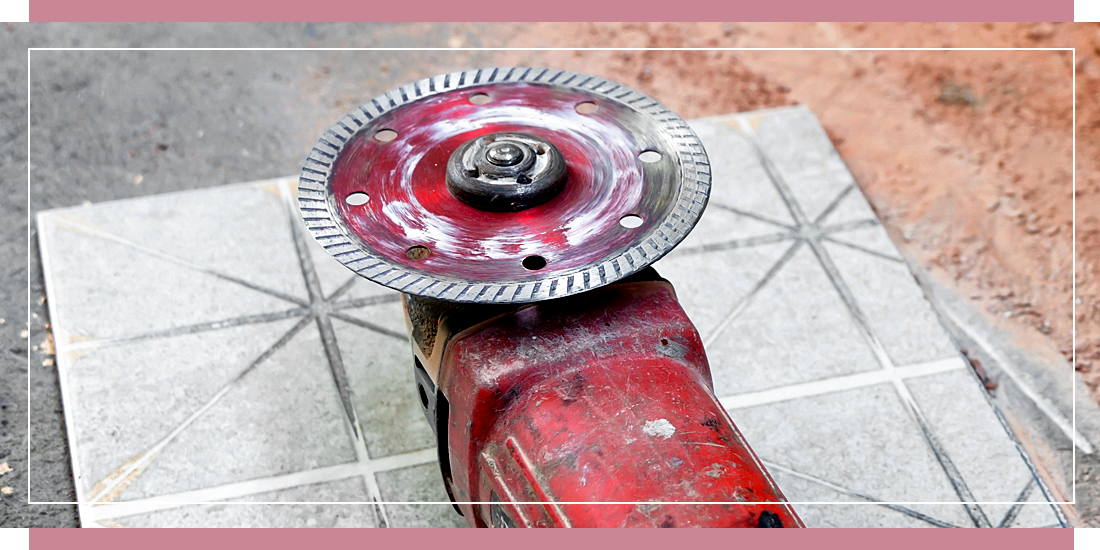
If you don't own a wet tile saw, a small angle grinder fitted with a continuous-rim diamond blade can substitute for shorter cuts. This is a secondary option for situations where a wet saw is unavailable. It generates significant dust, so always work outdoors or with adequate ventilation. See safety guidance below.
Glass Cutter and Running Pliers
For cutting glass mosaic tiles specifically, a traditional glass cutter paired with running pliers is a reliable method for straight cuts. Score the tile surface firmly in a single pass (don't go over the line twice), then use running pliers to apply even pressure along the score line. The tile should snap cleanly.
This method gives the cleanest edge on glass but requires some practice to execute consistently. It's worth practising on spare tiles before committing to your finished sheet.
Which Tool Should I Use?
Use this quick-reference table to match your tile material to the right cutting tool for cutting mosaic tile sheets:
Tile Material
Recommended Tool
Notes
Glass mosaic
Wheeled glass cutter + running pliers
Score once, snap immediately
Ceramic mosaic
Tile nippers or wheeled nippers
Grout will cover rough edges
Porcelain mosaic
Wet tile saw
Dry-cutting is a last resort
Marble
Wet tile saw with fine diamond blade
Avoid nippers where clean edge needed
Slate
Score and snap along cleavage lines
Wet saw for precision cuts
Travertine
Wet tile saw with fine diamond blade
Soak briefly in water before cutting
Safety First
Follow these precautions for all cutting work on mosaic tile sheets:
-
Eye protection: Wear safety glasses for every cut - tile fragments can travel fast and unpredictably.
-
Dust protection: Wear an FFP3 respirator for any dry cutting of stone or porcelain. Fine silica dust poses a serious long-term respiratory risk. A basic dust mask is not sufficient.
-
Wet saw indoors: Use appropriate water containment trays and ensure adequate drainage before operating a wet saw inside.
-
Children and pets: Clear the area before cutting. Keep them out of the room entirely when using power tools.
Step-by-Step Techniques for Common Cuts
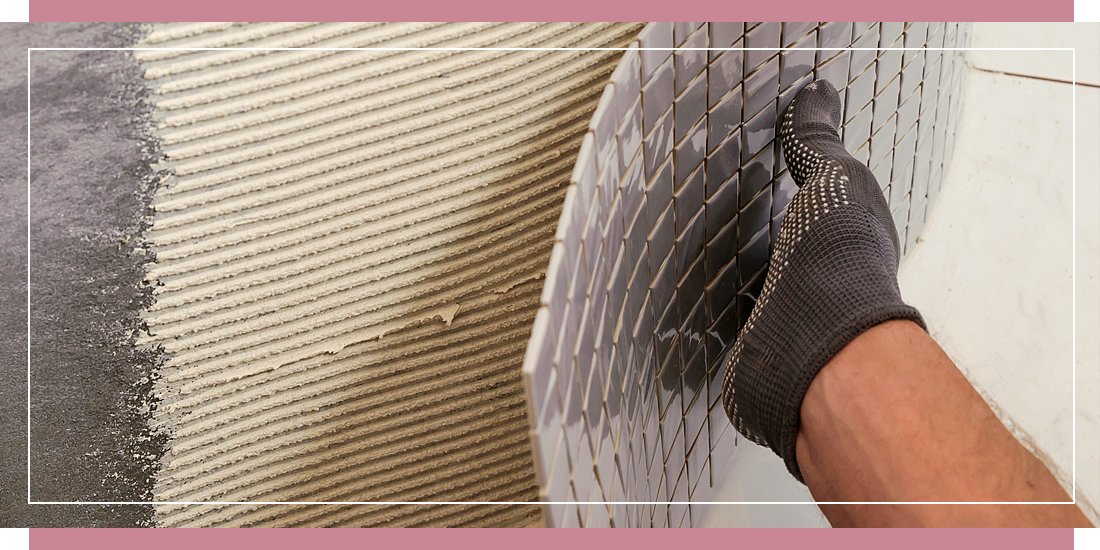
Cutting a Mosaic Tile Sheet to Size
-
Lay the sheet face-up on a flat surface.
-
Identify the grout joint closest to your cut line.
-
Using scissors or a craft knife against a steel ruler, cut through the mesh or backing along that joint.
-
If your measurement falls mid-tile, you'll need to remove one row and use nippers or a tile saw on the individual tiles.
Fitting Mosaics Around an Obstacle (Pipe, Socket, Corner)
Obstacles are where most DIY mosaic jobs slow down. The good news is that with a methodical approach, and the right mosaic tile cutter for your material, every common obstacle is manageable.
Let's take a look at examples of the most common obstacles you may need to cut around during your installation.
Fitting around a 15mm copper pipe
This is one of the most frequent challenges on kitchen or bathroom splashbacks. Start by dry-laying your sheet over the pipe position and pressing lightly to mark where the pipe falls. Identify the four tiles immediately surrounding the pipe, typically two above and two below, or arranged in a 2×2 cluster depending on your tile size.
Remove those four tiles from the sheet by cutting the mesh around each one with a craft knife. On each tile, measure and mark a 7.5mm radius arc using a chinagraph pencil (this is half the pipe's 15mm diameter). Use wheeled nippers to remove material in small biting increments, working from the tile's outer edge toward the arc.
Don't try to bite to the line in one go. Take off 1–2mm at a time, test the fit frequently, and refine until the four curved sections meet cleanly around the pipe. Re-adhere the trimmed tiles in position after the main sheet has been set.
Fitting around a UK-standard 86×86mm light switch backplate
A standard UK single-gang backplate measures 86×86mm. Begin by marking the backplate position on the wall with a pencil. Dry-lay the sheet and identify which tiles fall within that zone. Using a chinagraph pencil and steel ruler, mark your cut lines on the sheet directly.
Cut the sheet along the nearest grout lines to remove the bulk of the obstruction; usually a rectangle of two or three tile rows. For the remaining partial tiles at the edges, cut each one individually using wheeled nippers or a wet saw, depending on your tile material.
Work to within 2–3mm of the backplate edge; the switch surround will cover any slight imperfections. For porcelain or stone sheets, a wet tile saw gives the cleanest edge on these border pieces.
Fitting around an external corner on a splashback
Where a sheet meets an external corner, such as the end of a kitchen splashback, you have two options: mitre the tiles on a wet saw for a flush joint, or use an edge trim profile to cap the exposed edge cleanly. See the section on corners and mitred edges below for full guidance.
Cutting Individual Tesserae
Separate the tile from the sheet by cutting the mesh around it with a craft knife. Mark your cut line with a marker or chinagraph pencil. Use wheeled nippers for glass, standard nippers for ceramic, and a wet saw or angle grinder for stone and porcelain. See safety guidance above.
Cutting Mosaic Tiles for Corners and Mitred Edges
Corners are one of the trickiest aspects of cutting mosaic tile sheets. The technique you use depends on whether you're dealing with an external corner, an internal corner, or a mitred decorative edge.
External Corners
On an external corner, for example, where a kitchen splashback wraps around the end of a run of units, the raw edges of the mosaic tiles will be visible if left untreated. You have two options:
Option 1: Mitred joint using a wet saw. Set the wet tile saw fence to 45° and cut each tile along its edge. When the two mitred edges meet at the corner, they form a flush, seamless joint with no exposed tile edge.
This is the most professional finish but requires a wet saw and careful measurement. For a UK-standard kitchen splashback, you'll typically be cutting 20×20mm or 25×25mm tesserae. Set a consistent stop on your saw fence so every tile is cut to the same angle and depth.
Option 2: Edge trim profile. A chrome or brushed aluminium tile trim (sometimes called an edge profile) is fixed to the corner before tiling. The sheet tiles butt up to the trim's lip, which covers the exposed edge entirely.
This is faster than mitring and gives a clean, contemporary look. It's the preferred method for glass mosaic tiles, where a mitred cut on small tesserae is fiddly, and chipping risk is higher.
Internal Corners
Internal corners, where two tiled walls meet inside a right angle, are considerably simpler. A straight cut flush to the adjacent wall surface is usually all that's required. The grout joint at the internal corner naturally fills the gap and accommodates any slight irregularities. There is no need to mitre internal corners on mosaic work.
For wet areas such as showers, finish the internal corner with a silicone sealant rather than grout, to allow for slight movement and prevent cracking over time.
A Worked Example: External Corner on a Kitchen Splashback
Imagine you're tiling a kitchen splashback that runs 900mm along one wall and returns 300mm around an external corner onto a side panel. Both surfaces use the same 300×300mm glass mosaic sheet in a 20×20mm tessera size.
-
Tile the main 900mm run first, leaving the corner column of tiles unset.
-
On the return panel, cut the first column of tiles on the sheet so they are mitred at 45° on the corner-facing edge (wet saw, 45° fence setting).
-
Cut the corresponding edge tiles on the main run to 45° also.
-
Set both columns, pressing the mitred edges together at the corner to form a clean joint.
-
Alternatively, fix an aluminium edge trim to the corner before tiling, tile the main run up to the trim, and tile the return panel butting to the trim's reverse side.
Frequently Asked Questions About Cutting Mosaic Tile Sheets
Ready to start your project? Browse our full range of mosaic tiles online, or get in touch with our tiling experts if you need help or advice on anything from choosing the right products for your home to installation tips.
Browse Our Full Mosaic Tile RangeMosaic Village Is Rated 'Excellent'
 Don't just take our word for it. Hear what our customers have to say!