How to Plan a Feature Wall
with Glass Mosaic Tiles
A feature wall is one of the simplest ways to transform a room, and when you use glass mosaic tiles, the effect can be stunning. The unique light-reflecting qualities of glass, combined with the pattern and colour potential of mosaics, make them a superb choice for creating a focal point. But before you start applying the tile adhesive, it’s important to plan your feature wall carefully.
-
Define a clear purpose for your feature wall; focal point, light enhancement, or added texture.
-
Choose a wall that draws the eye and suits the room’s layout and function.
-
Plan your layout carefully for visual flow and balance in the room.
-
Lighting greatly affects how glass mosaics look; consider both natural and artificial sources.
-
Borders or frames can help define the feature and create a polished finish.
What Is the Purpose of the Feature Wall?
Ahead of making decisions on tile colours and styles, or even beginning to think about a layout, start by understanding exactly why you want a feature wall in the first place. A well-designed feature should serve a clear purpose in the space, whether visual, functional, or atmospheric.
So ask yourself: What role will the feature wall play in the room?
The answer to this question will form the foundation on which the rest of your planning will be built. Here are some common reasons why you might want to opt for a glass mosaic feature wall:
To Create a Focal Point
One of the most common reasons to install a feature wall is to draw the eye to a specific area of the room. This can help create a natural sense of order or balance. For example:
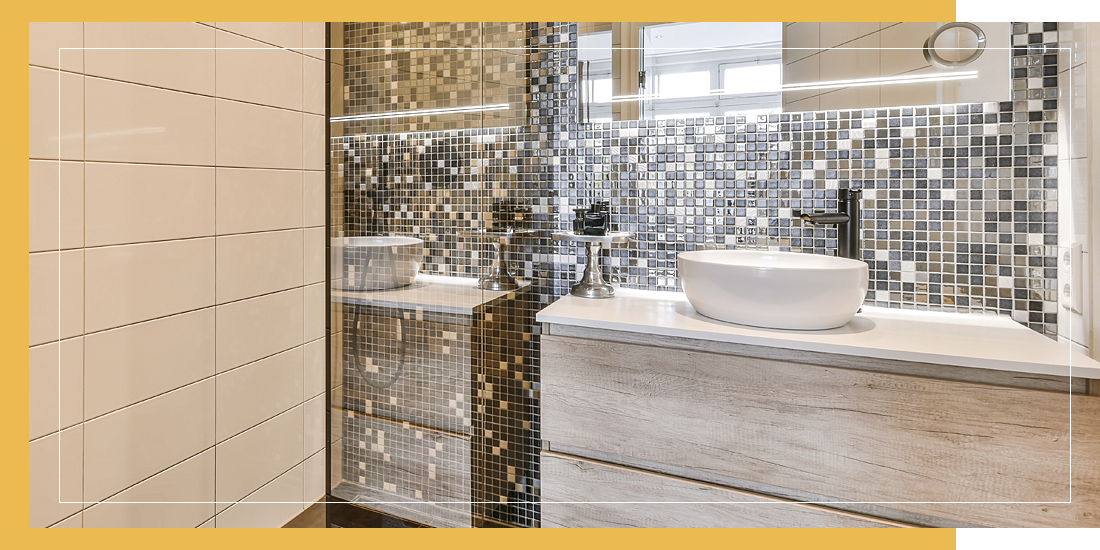
-
In a bathroom, you might highlight the wall behind the vanity or inside the shower.
-
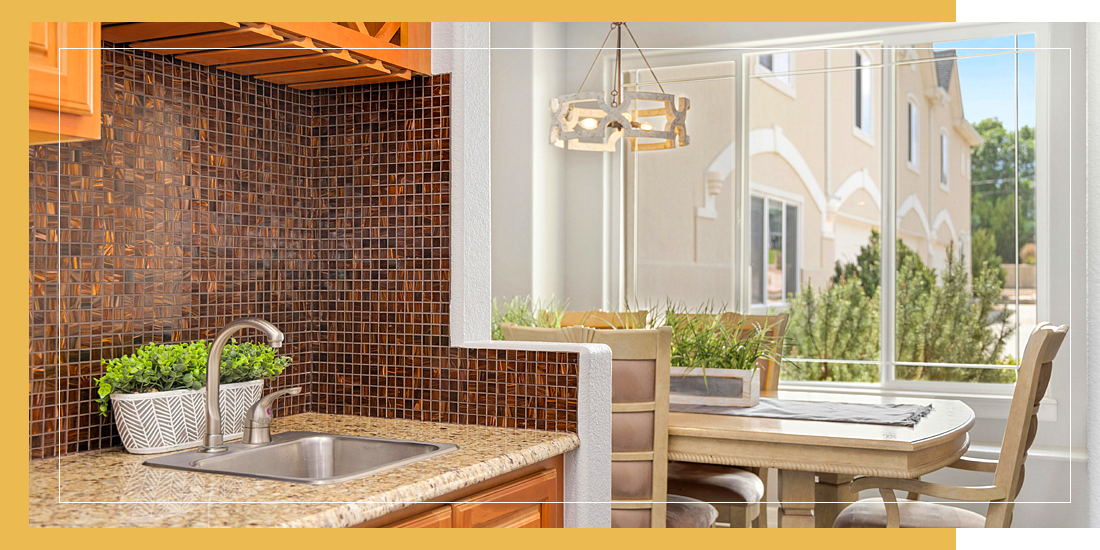
In a kitchen, the area behind the hob or sink is a popular choice.
-
In a living space, a fireplace wall or alcove can become a design centrepiece.
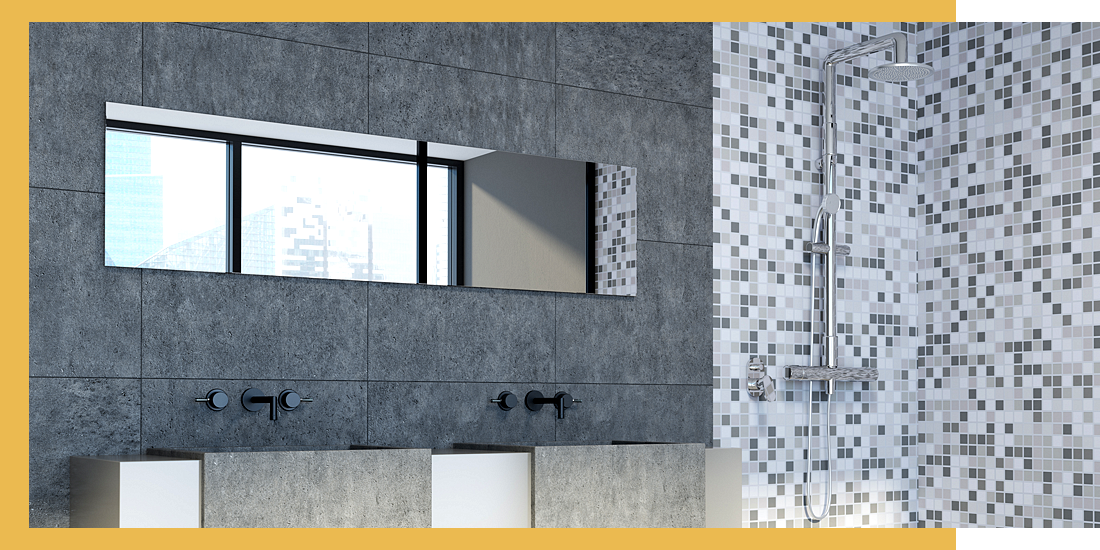
To Add Texture or Shine to a Minimalist Space
If your room has a calm, monochromatic palette or sleek surfaces, a mosaic tile feature wall can add subtle depth and light without introducing clutter or bold patterns. The reflectivity of glass tiles offers a touch of luxury that suits both contemporary and classic interiors.
To Visually Break Up a Large, Plain Wall
In open-plan homes or long corridors, large uninterrupted walls can feel flat or unfinished. A well-placed panel of glass mosaic tiles, even a small one, can introduce rhythm and help zone the space without adding extra furniture or fixtures.
To Enhance Natural or Artificial Light
Glass mosaics have the unique ability to bounce and refract light, which makes them an excellent design tool in rooms that need brightening. Used strategically, they can reflect daylight into darker corners or amplify the effect of spotlights, sconces, or pendant lighting.
To Tie a Colour Scheme Together
If you’re working with a bold colour or a specific material palette (like brushed brass, black fixtures, or timber), a mosaic feature wall can help reinforce those choices by repeating key tones or textures in a concentrated way. This brings cohesion to the overall design.
To Add a Sense of Luxury
In bathrooms and ensuites, glass mosaic tiles are often used to evoke the feeling of a boutique hotel or luxury spa. A feature wall behind a bath, inside a shower, or within a wet room creates a focal point that feels relaxing, indulgent, and intentionally styled.
To Introduce Personality Without Overcommitting
Unlike painting a whole room a bold colour, a tiled feature wall offers a way to inject personality into a space without overwhelming it. Whether you choose iridescent shimmer, deep jewel tones, or soft neutrals, the mosaic can make a statement while keeping the rest of the room pared-back.
Where Should a Glass Mosaic Feature Wall Go?
Deciding where to place your feature wall is just as important as choosing the tiles themselves. The right placement ensures your mosaics get the attention they deserve, and that they enhance the space rather than overwhelm it.
Which Wall Naturally Draws the Eye?
The most successful feature walls often occupy a space that people naturally look toward when entering a room. This could be:
-
The first wall you see when you open the door.
-
A wall that frames a key fixture, like a shower, bath, cooking space, or fireplace.
-
A niche, alcove, or recess that already feels like a focal area waiting to be highlighted.
Tip: Avoid choosing a wall at random; aim for one that plays a natural role in the room’s visual layout.
Is the Wall Visually Uncluttered?
Glass mosaic tiles have a strong presence, so it’s usually best to apply them to a surface that isn’t broken up by:
-
Multiple windows.
-
Doors, switches, or radiators.
-
Wall-mounted furniture or fixtures (unless you're intentionally tiling around them).
Tip: A cleaner, uninterrupted wall allows the tile to take centre stage and reduces awkward cuts or layout compromises.
How Does Lighting Influence Placement?
While choosing your wall, consider how much light it gets. Glass mosaics are highly reflective and can either amplify or diffuse light depending on their location.
-
If the wall is in shadow all day, the effect may be more muted.
-
Strong natural or artificial light can dramatically enhance the colour and sparkle and lustre of the tiles.
Tip: If possible, observe how light plays across the wall at different times of day before committing to it as your feature area.
Does the Wall Suit the Room’s Function?
Different rooms offer different opportunities for mosaic feature walls:
-
In a bathroom, the shower wall or the space behind a vanity unit makes a natural statement zone.
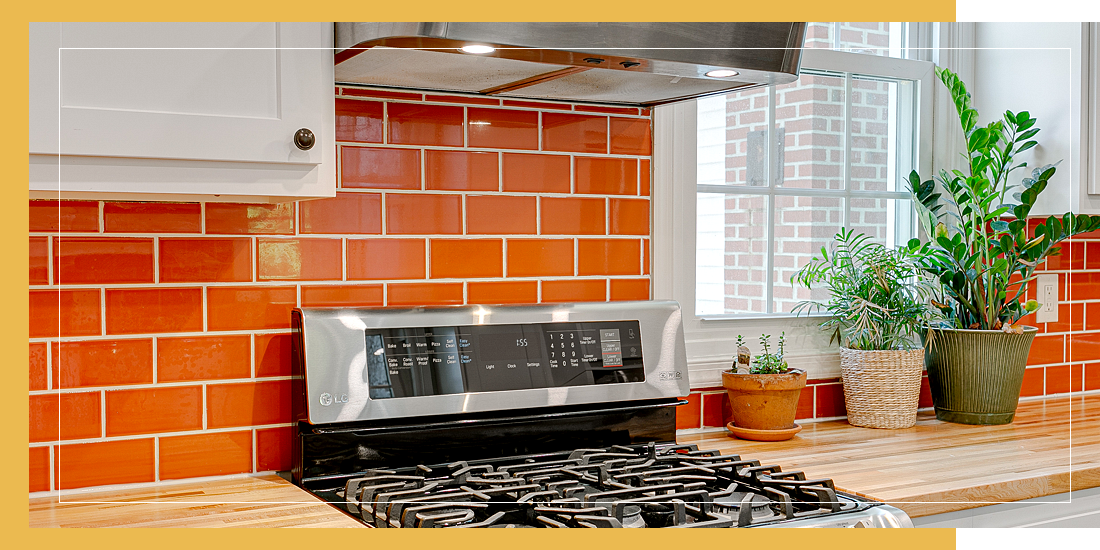
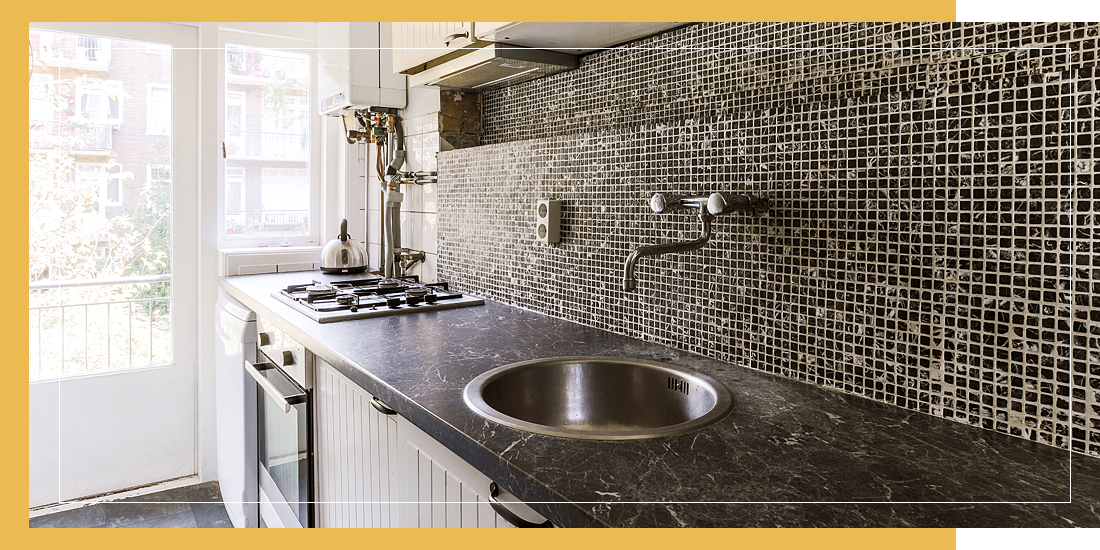
-
In a kitchen, a mosaic wall behind the hob or a full-height splashback behind open shelving can act as a visual anchor.
-
In a living room, a chimney breast or fireplace surround is ideal for adding texture and interest.
-
In a hallway or stairwell, a tiled niche or vertical panel can enhance the journey through the space without taking up floor area.
-
In a bedroom, a headboard wall or alcove can be tiled to add richness without dominating the whole room.
Tip: Don’t be afraid to go beyond walls. Mosaic feature zones can also be applied to backs of kitchen islands, under stair voids, or even around bath surrounds; wherever a concentrated moment of detail can elevate the space.
How Big Should the Feature Area Be?

One of the most common planning challenges when using glass mosaics is deciding how much of the wall to cover. Should the feature wall span the entire surface from floor to ceiling? Or would a smaller panel or strip be more effective?
Full-Wall Feature
Covering an entire wall in glass mosaic tiles creates a bold, immersive effect. This approach works well when:
-
The wall is already the room’s natural focal point (e.g. behind a freestanding bath, in a walk-in shower, or at the end of a hallway).
-
The room has clean architectural lines or minimal visual interruptions.
-
You’re using a simple or uniform mosaic design that won’t overwhelm the space.
That being said, a full-wall approach requires confidence, and often a larger budget. It also works best in rooms where the wall is regularly visible and gets plenty of natural or artificial light.
Partial Feature Panels
In many cases, a smaller feature area creates just as much impact, especially when it’s been thoughtfully placed and proportioned.
Some ways to use glass mosaics as features on a smaller scale include:
-
A vertical strip behind a bathroom basin or mirror to draw the eye upward.
-
A horizontal band along a splashback area or mid-wall in a kitchen to create visual flow.
-
A framed panel above a bath or inside a shower niche to add detail without covering the whole surface.
Tip: Smaller features allow for bolder tile choices, like iridescent or dark-toned glass, without overpowering the room. They’re ideal for adding personality and elevating the look of compact spaces like cloakrooms or wet rooms.
Use the Rule of Thirds or Natural Breaks
If you’re unsure about proportions, a good rule of thumb is to divide the wall into thirds and make the feature area span one-third or two-thirds of the surface. This naturally creates balance and prevents the feature from feeling lost or overbearing.
Alternatively, use the room’s existing elements such as the width of a vanity unit, the height of a work surface, or the boundaries of a recess to guide the size of your tiled area. Designing around these reference points helps your feature wall feel integrated rather than added on. It can make a big difference to how cohesive the room feels overall.
Test With Visual Tools
Even a slight adjustment in height or width can dramatically affect how a glass mosaic feature impacts the space. Before committing to a size, it helps to test your idea visually. You can:
-
Use masking tape to mark out the intended area on the wall.
-
Tape a few tile sheets in place to get a sense of scale.
-
Take photos from different angles to assess how the size feels from across the room.
What Pattern and Layout Work Best?
Once you've chosen the size and position of your feature wall, the next step is to plan the layout and pattern of the mosaic tiles. With glass mosaics, the pattern often has a structural effect; it helps guide the eye, establish flow, and reinforce the overall tone of the space.
Work With the Format of the Tiles
Most glass mosaics come pre-mounted on mesh sheets, often in square, rectangular, linear, or mixed patterns. While these sheets are designed for convenience, that doesn’t mean you need to use them exactly as they come, and sometimes, even a simple change in orientation makes a big visual difference. Ask yourself:
-
Should the pattern run vertically to emphasise height?
-
Would a horizontal layout create a more expansive or calming feel?
-
Could you cut the sheets into strips or blocks to form a custom arrangement?
Decide Between Structured or Organic Patterns
Your design goal will guide whether you lean toward something crisp and structured or soft and organic. Structured layouts (like straight grid patterns or stacked rectangles) create a clean, modern, and architectural look. They tend to work well in contemporary bathrooms, kitchens, or feature panels where symmetry matters.
Organic or randomised layouts give a more fluid, textured appearance. These often involve mixed colours, finishes, or individual tile sizes, and are ideal for creating calming or nature-inspired spaces.
Tip: Keep in mind that even a random layout should be planned. Too much visual variation in a small space can look chaotic instead of calming.
Create a Sense of Flow
The best layouts guide the eye across the surface and help the wall feel connected to the room. A small shift in direction or starting point can change the visual rhythm of the design, which in turn can make the room feel smaller or larger, or cohesive or disjointed.
To help achieve a good visual flow in your space, think about the following:
-
Align the tile pattern with strong lines in the room, such as the top of a vanity unit, the edge of a bath, or architectural elements like beams or coving.
-
Consider how the tile “flows” from floor to ceiling or wall to wall. Does it rise up, stretch across, or appear framed within the space?
Allow the Pattern Room to Breathe
If your mosaic has a bold pattern, high contrast, or iridescent finish, it may need space around it to shine. Avoid overcomplicating the design by trying to fill every inch with texture or detail.
Simple layout choices, like using a border, aligning with grout lines, or framing the pattern, can help anchor the feature and give it visual clarity.
Whenever possible, it can be useful to visualise the layout before you start installing the tiles. It’s worth laying out a few tile sheets on the floor or taping them temporarily to the wall to check how the layout looks. Photograph your mock-up to see how it looks and feels from different angles, which gives you an opportunity to play around and compare different layouts and make adjustments if anything seems off.
Tip: What looks balanced up close can sometimes feel off-centre or overwhelming when viewed across the room. Compare a few temporarily installed options before committing.
How Does Light Affect the Result?
Light plays a major role in how a glass mosaic feature wall will look once installed, perhaps more than any other factor. Glass mosaics interact with light in unique ways, creating reflections, highlights, shadows, and even colour shifts depending on their finish, position, and the quality of the lighting.
In fact, one of the best things about glass mosaics compared to other tile materials is that they provide opportunities to fine-tune the atmosphere you're trying to create due to the way in which they interact with light.
Natural Light: Enhancing Brightness and Movement
Glass mosaic tiles tend to reflect and amplify natural light, making them an excellent choice for brightening up darker corners of a room. In areas with plenty of daylight, they can create subtle sparkles and introduce changing reflections throughout the day.
If the wall is near a window, consider:
-
How the direction of light will change across morning and evening.
-
Whether direct sunlight will hit the tiles (this can enhance shimmer but may create glare).
-
How the colours in your tiles appear in natural light. Some glass can look cooler or warmer depending on exposure.
Artificial Light: Creating Drama or Warmth
In spaces with limited daylight like bathrooms, cloakrooms, or hallways, artificial lighting becomes the main tool for enhancing the glass surface.
Here’s how different types of artificial lighting can be used in conjunction with glass mosaics:
Downlights or Spotlights
Can be used to highlight the texture and sparkle of mosaic tiles, especially those with an iridescent or textured finish.
Wall Lights
Positioned close to the surface, they can cast interesting shadows and pick up movement in the glass.
LED Strip Lights
Can be used along niches or recesses to create a soft, continuous glow that gently illuminates the space.
Warm or Cool Bulbs
Warm white bulbs give tiles a golden, relaxing tone. Cool white creates a cleaner, crisper effect that’s suited to workspaces.
Tip: Test different lighting options with tile samples on your actual wall if possible. What looks stunning under showroom lighting can appear flat or overly glossy in a real setting.
How Gloss, Iridescence, or Frosted Glass React
Different glass tile finishes interact with light in different ways, and choosing the right finish for your lighting conditions is key to achieving the best results in your space.
-
Glossy finishes reflect light clearly and increase brightness.
-
Iridescent tiles can shift in colour depending on the angle and lighting temperature.
-
Frosted or matt glass softens the light and reduces glare, giving a more muted effect.
Tip: In low-light rooms, high-shine or iridescent finishes may help bounce light around. In bright spaces, a more subtle finish might be easier on the eyes.
Backlighting for a Premium Statement Effect
For high-end projects or luxury spaces, backlighting can be used to make translucent glass mosaics glow from within. This effect requires forward planning as the wall must accommodate a lighting panel or strip and be fitted before tiling. While not necessary for most projects, it’s a powerful option for glass feature walls in moody or dramatic spaces.
Should You Use a Border or Frame?
Framing a mosaic feature wall is a design decision that can make a significant difference to how the finished result feels. While not essential for every project, a well-placed border or frame can help define the mosaic area, give it a clean edge, and make it look more intentional. So, when should you consider adding one? Here are three times a border to your glass mosaic feature might be of benefit:
1. When the Mosaic Doesn’t Span the Full Wall
If your mosaic feature only covers part of a wall (for example, a central panel or a vertical strip), adding a frame can help distinguish it from the surrounding space. Without it, the edge of the mosaic may feel abrupt or unfinished, especially if it meets plain wall tiles, painted plaster, or other materials.
A border helps to:
-
Emphasise the shape and boundaries of the mosaic area.
-
Provide visual separation between different surfaces.
-
Prevent the feature from blending into the background.
2. To Give the Feature a Polished or Tailored Look
Borders can add structure and elegance to a design, particularly in more formal or traditional interiors. Just like a picture frame enhances a piece of art, a tile border can elevate a mosaic and make it feel like a true design focal point.
This is especially useful when the mosaic includes bold colours or patterns that need containment, or you’re using intricate glass mosaics and want to give them prominence. It can also be a good styling technique to use when the rest of the room has structured, symmetrical elements that will benefit from a more defined centrepiece.
3. As a Transition Between Materials
Framing is practical as well as decorative. If your mosaic meets another tile or wall finish such as plaster, wood panelling, or stone, a border can create a smoother transition between the materials. It can also help compensate for slight differences in thickness between the mosaic and its surroundings, which is particularly relevant for glass tiles, which are often thinner than ceramic or stone.
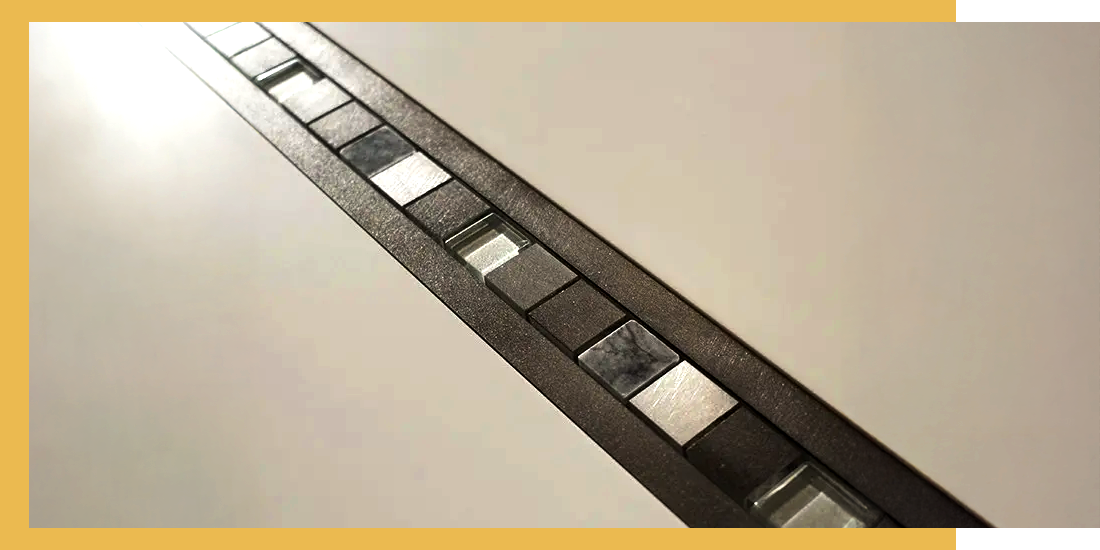
Options for Framing a Mosaic Feature
So, if you’ve decided that you’d like to use a border to frame your glass mosaic feature, how exactly do you go about creating one? Well, there are a few common ways to create this effect:
-
Border tiles: Long and thin tiles that are designed specifically to be used as border
-
Contrasting tiles: Use a row of plain or darker glass tiles to outline the mosaic area
-
Metal trim (tile edging): Provides a sleek, modern finish and protects tile edges
-
Recessed framing: Mosaic tiles sit inside a slightly sunken or boxed-in area of the wall
-
Painted or architectural framing: If the mosaic ends at a painted surface, masking and painting a border can be an effective low-profile alternative
When a Frame Might Not Be Necessary
In some cases, a frame may not be needed, and may actually even interrupt the intended flow. For example:
-
If the mosaic covers the full width or height of a wall.
-
If you're using a subtle, tone-on-tone mosaic with no strong edge contrast.
-
In minimalist or ultra-modern spaces where clean, uninterrupted surfaces are part of the aesthetic.
Tip: Match the decision about whether to use a border to frame your glass feature to the style of the room and the role of the mosaic. A border is a tool that when used thoughtfully, can bring clarity and polish to your feature wall. However, it should work as part of the overall design scheme to avoid looking out of place or interrupting an otherwise cohesive look.
Your Glass Mosaic Feature Wall: Planned To Perfection
If you’re thinking about using a glass tiled feature wall in your home, it’s definitely worth spending some time planning out the details before you start. The best results come from careful thought about why the feature exists, where it will go, and how it will interact with the space around it. Take your time to mock up different layouts, observe your lighting, and ensure that what you’re creating feels balanced and intentional.
As one of the UK’s leading suppliers of glass mosaic tiles, here at Mosaic Village you can find a comprehensive range to suit almost any style and area of the home. So when you’re ready to start choosing the tiles you want to use, browse our full range online, or get in touch with one of our experts if you need any more help in kicking off your project.
Mosaic Village Is Rated 'Excellent'
 Don't just take our word for it. Hear what our customers have to say!