DIY vs Professional Mosaic
Tile Installation
Thinking about tackling mosaic tile installation yourself, or wondering whether it's worth calling in a professional? You're not alone. This guide helps UK homeowners decide between DIY mosaic tile installation and hiring a professional, covering what each route costs, what each demands, and which is right for your project.
Deciding between the two is rarely just about cost. It involves your skill level, the complexity of the project, the substrate you're working with, and how much finishing quality matters to you. Get it right, and mosaic tiles create a striking, long-lasting surface. Get it wrong, and you're looking at cracked grout, uneven spacing, or tiles that lift within a year.
This article compares both options to help you understand what each demands, where each earns its keep, and how to decide which path suits your specific project.
DIY vs Professional Mosaic Tile Installation: At a Glance
Factor
DIY
Professional
Cost
Materials, Tools (buy or hire)
Materials, Labour (around £50/m²)
Time
Full day to lay 1–1.5 m²; plus cure and grouting session
~3–5 m² per day on a prepared substrate
Skill Needed
Moderate; substrate prep and adhesive technique are critical
High; pattern-matching, curved surfaces, wet room tanking
Best Use Case
Simple splashbacks, flat walls, small areas, first-time projects
Feature walls, pool surrounds, curved substrates, high-value materials, wet rooms
Why Mosaic Tiles Are a Different Challenge
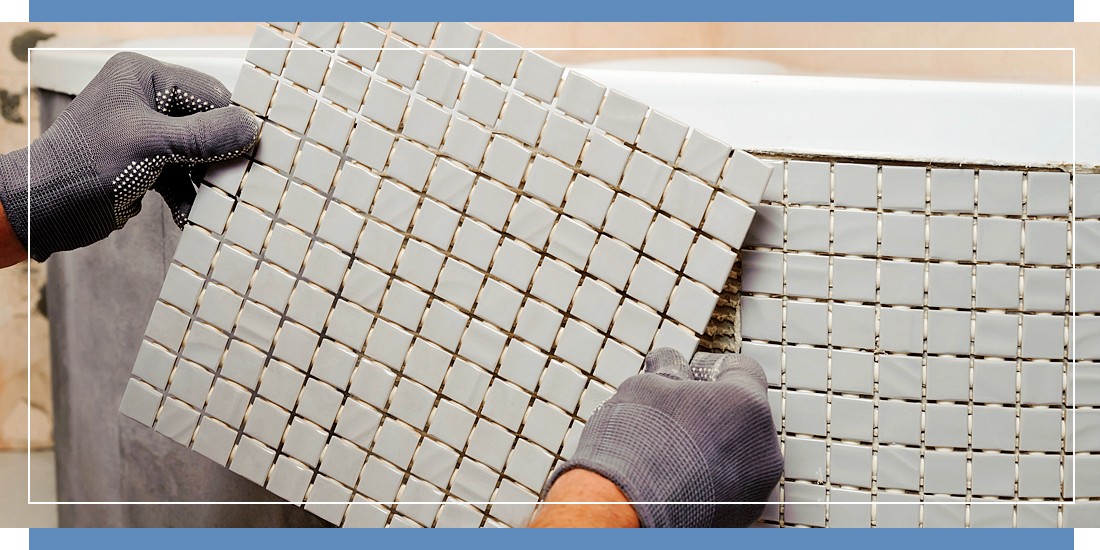
Standard large-format tiles are relatively forgiving. You lay them flat, keep your spacers consistent, and the grout lines do a lot of the visual heavy lifting. Mosaic tiles work on a different logic, but that doesn't mean DIY mosaic tiling is out of reach.
Because each sheet contains dozens of individual pieces, substrate preparation and adhesive coverage matter more than they would with larger tiles. A slightly uneven wall or adhesive applied too thick can cause sheets to ripple or grout lines to look inconsistent across a wider area. Taking a little extra time at the preparation stage makes a noticeable difference to the final result, and it's time well spent.
Something to be aware of is that different mosaic materials behave differently under adhesive and grout, which affects your product choices rather than the complexity of the job itself.
Glass mosaics, for instance, are non-porous and need a white adhesive to prevent colour showing through. Natural stone mosaics can stain if paired with the wrong grout. These are straightforward details once you know them, and getting them right is what separates a clean, professional-looking finish from one that falls short, regardless of whether you're doing it yourself or bringing in a tiler.
What Does Each Route Cost? (Excluding Tiles)
Tile prices vary significantly depending on material and style, but will generally be the same whether you DIY or use a professional. Here's how the other costs break down.
DIY costs
For a typical splashback project (1–2 m²):
-
Adhesive, grout, primer, and sealant: roughly £30–£60
-
Basic tool kit (notched trowel, grout float, spirit level, tile cutter): around £30–£50 if you don't already own them
-
Wet saw hire: approximately £10–£20 per day
Professional costs
For the same area with a professional tiler:
-
Materials: same as above (some tilers supply their own; others ask you to provide them)
-
Labour: around £50/m², or £200–£350 per day depending on your region
-
Substrate preparation: removing old tiles, skimming, or fitting backer board may add to the quote or require a separate tradesperson
Which route saves more?
On a small, straightforward project the DIY route can save you the bulk of the labour cost. On larger or more complex jobs, the professional's speed and lower material waste can narrow the gap considerably.
DIY Mosaic Tile Installation: What It Demands
Substrate Preparation
This is where most DIY installations succeed or fail. The surface must be flat, clean, dry, and structurally sound. For walls, plasterboard needs to be primed or, in wet areas, replaced with a tile backer board. Existing tiles can sometimes be tiled over, but only if they're fully bonded, and the additional weight is manageable.
A two-metre feather-edge rule is the standard tool for checking flatness. Most adhesive manufacturers specify a maximum deviation of around 3 mm across two metres. Mosaic sheets amplify any deviation beyond that.
A common example of what can go wrong: a freshly skimmed wall that hasn't fully cured, even one that feels dry to the touch, can cause an entire sheet to ripple or bow as the adhesive sets. The skim continues to move slightly as it dries, and the mosaic sheet moves with it.
Note that plaster and skim coat cure (up to 28 days for a new skim coat) is entirely separate from adhesive cure (24+ hours once tiling begins); these are two distinct waiting periods, and both matter. Waiting the full recommended plaster cure time before tiling is one of the most frequently skipped steps in DIY projects, and one of the most consequential.
Adhesive and Grouting
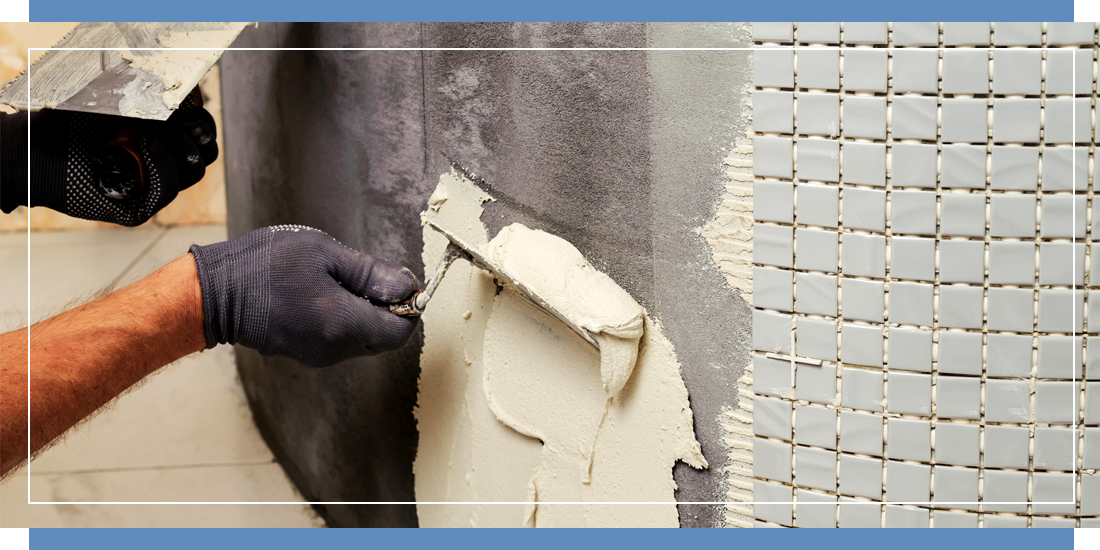
For wall applications, a non-slump adhesive is essential; standard floor adhesive will cause sheets to slide before they set. Coverage matters more with mosaics than with larger tiles because the mesh backing can trap air pockets if adhesive is applied unevenly. The back-buttering technique (applying a thin layer of adhesive to the sheet as well as the wall) reduces this risk considerably.
Grouting mosaic tiles is more time-consuming than grouting standard tiles simply because there are far more joints per square metre. Unsanded grout is typically recommended for joints under 3 mm; sanded grout for anything wider.
Applying grout at the wrong consistency, or leaving it too long before cleaning, can leave a haze on glass or polished stone that's difficult to shift. Work in small sections and clean back promptly to avoid this.
Tools and Time
A basic mosaic DIY kit requires:
-
A notched trowel (usually 3 mm V-notch for walls)
-
A grout float
-
A spirit level or laser level
-
Tile spacers if the mesh spacing needs correcting
-
A tile cutter or wet saw for edge cuts
-
A soft cloth and bucket for grouting cleanup.
As a rough UK guide, hiring a wet saw costs approximately £10-£20 per day from most tool hire companies, though prices vary by region.
Time-wise, a first-time DIYer tiling a standard bathroom splashback (roughly 1–1.5 m²) should budget a full day for laying, 24 hours for adhesive cure, and a further session for grouting and sealing.
Professional Mosaic Tile Installation: When It's Worth the Cost
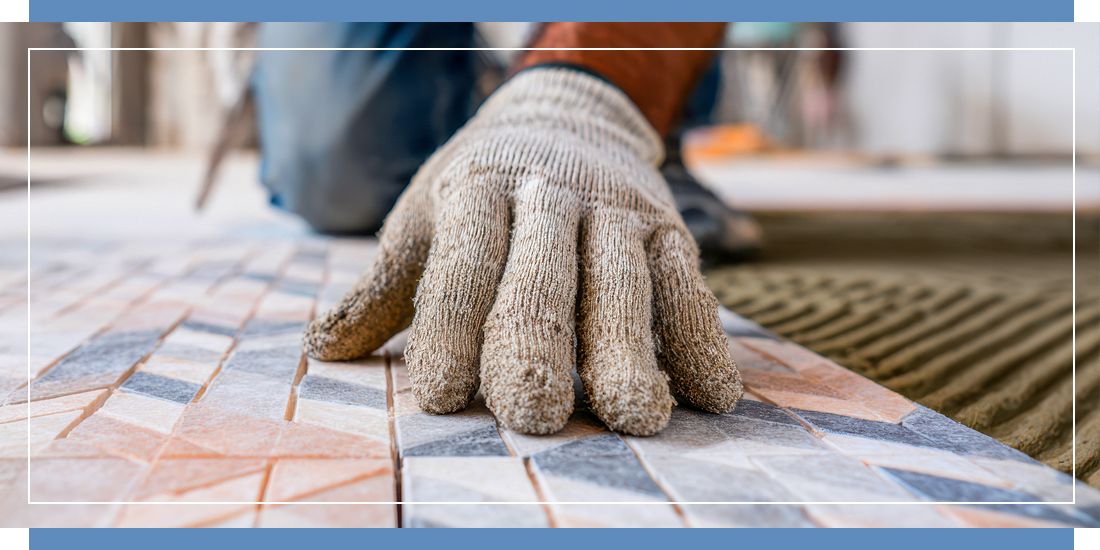
A professional tiler brings speed, specialist tools, and pattern-matching expertise that genuinely affects the outcome on complex projects. According to Checkatrade.com, the average UK cost for a professional tiler in 2026 is £50/m², or around £200-£350 per day.
Labour costs for professional mosaic tile installation typically tend to vary depending on your region, the type of tiles you're installing, and the size and complexity of the project.
You may also need to cover prep work, including removing old tiles and preparing the wall, which may require another contractor or may be something that can be done by your tiler.
There are some scenarios where the expertise a professional offers adds real value:
Tiling large or continuous surfaces
A feature wall, a pool surround, or an area where the mosaic pattern needs to run uninterrupted across several metres demands precise layout planning and consistent execution. An experienced professional will understand how to plan and set out the pattern accurately from the start, ensuring alignment and continuity across the full surface without necessarily needing to dry-lay every sheet.
Curved or irregular substrates
Columns, arched niches, and curved shower walls require cuts and sheet manipulation that take experience to handle cleanly. Poorly trimmed mesh or over-bent sheets will show in the finished surface.
High-value or irreplaceable materials
Some natural stone mosaics such as marble, travertine, or slate can be expensive and unforgiving of mistakes. The professional tiler cost is modest relative to the material cost if the alternative is wasting tiles on practice runs or needing to re-tile areas not installed correctly.
Wet rooms and shower enclosures
Tanking, waterproof membrane application, and the correct sealing of internal corners and junctions in shower enclosures are technical requirements with real consequences if skipped or done poorly. Water ingress behind tiles causes mould, structural damage, and an expensive strip-out.
When to choose your tiles: We'd usually recommend selecting your tiles before you appoint a tiler. Having your materials selected in advance means your tiler can provide an accurate quote. They can plan around sheet sizes, grout joint widths, and pattern considerations, and advise on quantities.
Practical Steps for a Successful DIY Project
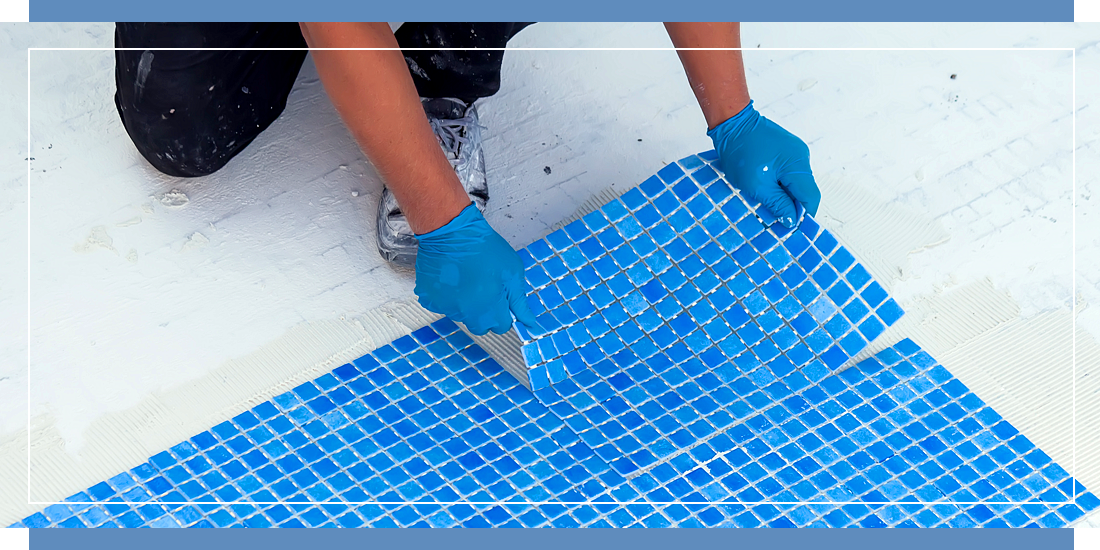
If you've assessed your project and decided to proceed yourself, the following sequence keeps the common errors out of your way.
Check and prepare the substrate first. Fix any loose plaster, fill holes, apply primer or backer board as required. Remember that a new skim coat needs up to 28 days to cure fully before tiling so don't rush this stage, as adhesive doesn't compensate for a poor or still-moving surface.
Plan your layout before you open any adhesive. Find the centre point of the area and dry-lay your sheets outward. This ensures cut pieces are even on both sides and the pattern doesn't end awkwardly at a visible edge.
Mix adhesive to the right consistency. It should hold a peak without slumping. Too wet and sheets will slide; too dry and coverage will be poor.
Work in manageable sections. Apply adhesive to no more than half a square metre at a time, enough to place two to three sheets before the adhesive skins over.
Press sheets firmly and check level constantly. Use a grout float or clean offcut of tile to bed each sheet evenly. Check with a spirit level across sheet joins.
Allow full adhesive cure before grouting. Most adhesives require a minimum of 24 hours once laid; in cooler or more humid conditions, wait longer.
Seal natural stone before grouting to prevent grout staining the tile surface. Apply grout, work it diagonally across the joints, then clean back in stages before it dries hard.
Find out more: How To Install Mosaic Tiles - An Expert Guide
DIY vs Professional Mosaic Tile Installation: Pros and Cons
DIY
Professional
Pros
✔ Lower overall cost: you only pay for materials and tools
✔ Work on your own schedule, no waiting for contractor availability
✔ Satisfying to learn and rewarding on simpler projects
✔ Full control over pace, finish, and product choices
✔ Faster: a skilled tiler lays 3–5 m² per day on prepared substrates
✔ Essential expertise for wet rooms, curved surfaces, and complex patterns
✔ Reduces material waste on expensive stone or glass mosaics
✔ Proper tanking and waterproofing in wet areas, done to industry standards
Cons
✘ Slower: expect a full day to lay 1–1.5 m² on your first project
✘ Mistakes with substrate prep or adhesive can mean stripping and starting again
✘ Limited to straightforward layouts on flat, well-prepared surfaces
✘ Tool costs add up if you need to buy rather than hire
✘ Higher cost: labour averages around £50/m² before prep work
✘ Scheduling depends on tiler availability, which can delay the project
✘ Quality varies between tilers: always check references and past work
✘ You have less direct control over the day-to-day process
Frequently Asked Questions
Ready to start your mosaic tile installation? Our range includes mesh-backed glass, natural stone, and ceramic mosaic sheets suitable for both DIY and trade installations. Not sure which tile is right for your space? Order a sample with free UK delivery, or speak to our team who can help you find the most suitable options for your project.
Browse All Mosaic TilesMosaic Village Is Rated 'Excellent'
 Don't just take our word for it. Hear what our customers have to say!