10 Common Mistakes When Using Glass Mosaic Tiles & How To Avoid Them
Glass mosaic tiles are a beautiful way to add colour, shine, and personality to your home. Like any tiling project, though, there are a few common pitfalls to watch out for when installing glass mosaics.
Small mistakes can affect the finish and in some cases detract from the unique effect that makes glass tiles so popular. But don’t worry, because once you know what to look out for, these mistakes are actually very easy to avoid.
This guide will walk you through the most frequent errors people make when using glass mosaics, and explain how to sidestep them, so you can enjoy a flawless, long-lasting result with confidence.
Mistake 1: Choosing the Wrong Finish for the Application

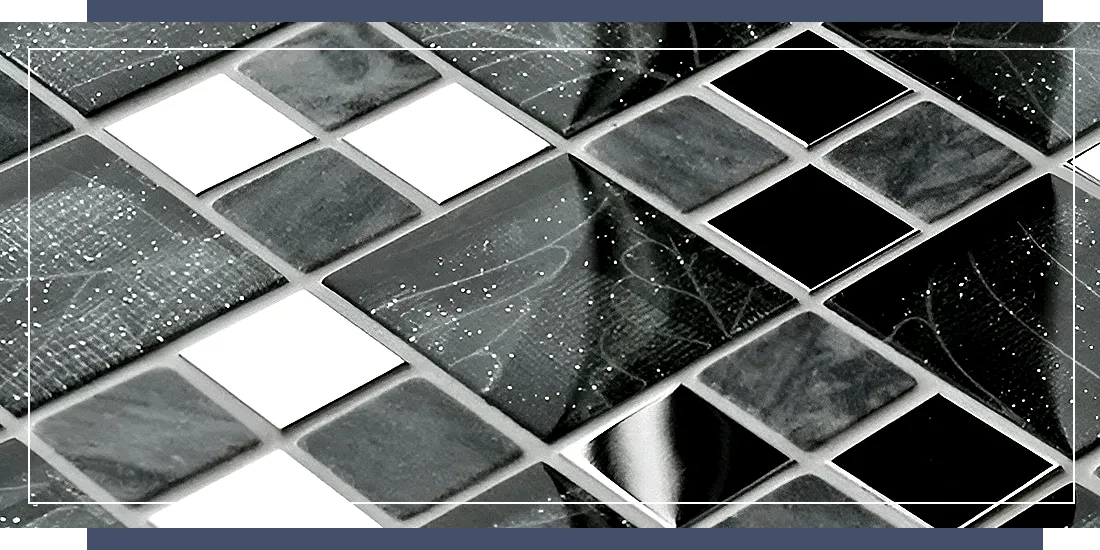
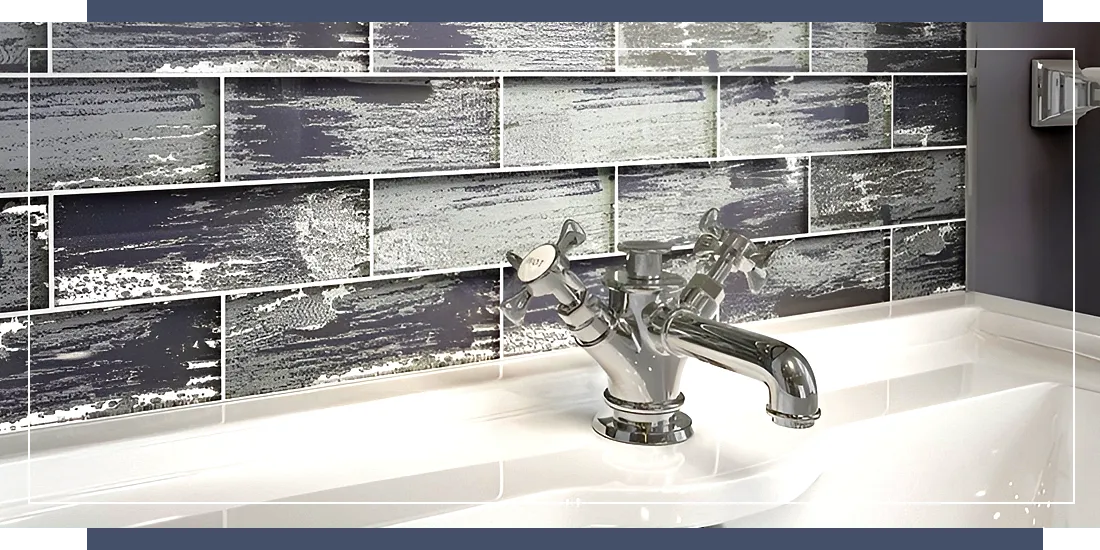
Glass mosaics come in a wide range of finishes including glossy, frosted, textured, and iridescent. Each interacts with light and usage differently. While they’re all beautiful, not every finish is suitable for every environment. A common error is selecting glass mosaics purely based on looks without considering how the finish will perform in the intended setting, which can then end up being frustrating to live with long-term.
Why it’s a problem:
Choosing the wrong finish can make a space impractical, hard to maintain, or visually overwhelming. For example, a glossy finish on a bathroom floor can become dangerously slippery, while a heavily textured mosaic used behind a kitchen hob may trap grease and dirt, making cleaning more difficult. A shimmering iridescent wall can look beautifully dazzling in a small feature panel, but chaotic across an entire large, brightly lit wall.
What causes it:
This mistake often stems from focusing on just the colour or style of a glass mosaic, without thinking about how light, moisture, or foot traffic will interact with the tiles. Homeowners may not realise how finishes behave differently under natural light, artificial light, and in high-use areas, or understand which is best suited to their needs.
How to avoid it:
-
Think carefully about the function of the space as well as the look, and match the finish to the room’s purpose. Consider how the room’s natural and artificial light will interact with your chosen finish.
-
Use glossy or iridescent tiles on walls and feature areas where they catch the light but won’t pose a slip hazard. Choose frosted or matt finishes for wet rooms, floors, and spaces where grip matters.
-
Use textured finishes for added safety on floors but keep them away from areas that demand frequent cleaning.
-
Order samples so that you can view them under your actual lighting conditions to see how they perform before making a final decision.
Mistake 2: Installing on an Uneven Surface
Some people assume that small mosaic tiles will “bend” to disguise surface irregularities, but actually the opposite is true. Because glass is reflective, it exaggerates imperfections. Even a small bump or hollow in the wall or floor can show through, disrupting the clean look of the tiles.
Why it’s a problem:
If the surface isn’t flat, grout lines become inconsistent, reflections appear broken, and tiles may not bond securely. Dips or bumps can lead to lippage (raised edges), making the finished surface look untidy and unprofessional. Over time, poorly supported tiles are more likely to crack or detach completely.
What causes it:
This mistake usually comes from skipping preparation or relying on the flexibility of mosaic sheets to “smooth things out.” In reality, the sheets of mosaics only hold tiles in position; they won’t compensate for a poor base.
How to avoid it:
-
Invest time in preparing the surface. Proper prep is the difference between a finish that looks sleek and one that looks sub-par.
-
Use cement backer boards for uneven walls, or apply self-levelling compound to floors with dips or bumps.
-
Always check with a straight edge (for example, a metal rule or spirit level) placed in multiple directions. If you see daylight beneath or feel rocking, fix the problem before tiling.
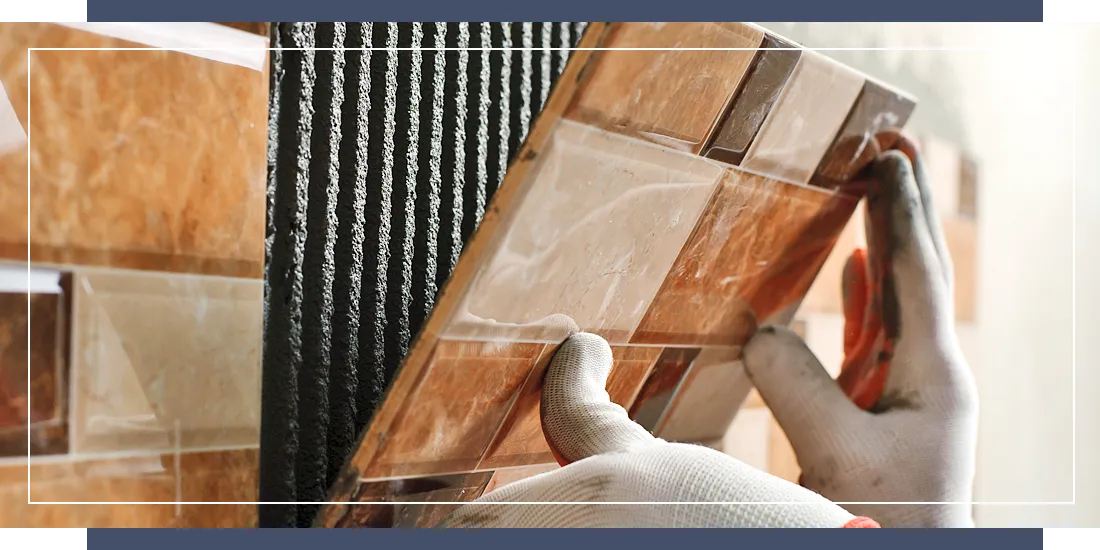
Mistake 3: Ignoring How Adhesive & Background Affect Glass Mosaics
Glass mosaics are often semi-transparent, meaning what’s behind them (both the adhesive and the substrate) can have an impact on the final look. Many people either use the wrong adhesive altogether or don’t prepare the surface properly, assuming it won’t matter.
Why it’s a problem:
The wrong adhesive or poor surface prep can completely spoil the finish. Grey or coloured adhesives can dull the natural brightness of glass, particularly when using lighter colours or more transparent tiles, and visible trowel ridges create shadows. If the substrate isn’t smooth or clean, marks and blemishes can show through.
On top of this, using the wrong product (like a pre-mixed mastic) may prevent tiles bonding properly in wet areas, leading to failures over time.
What causes it
This mistake often comes from treating glass mosaics like ceramic or stone. Homeowners assume any adhesive will work, or that the tile itself is opaque enough to hide flaws. Others are swayed by the “easy-to-use” pre-mixed adhesives sold in DIY stores, which aren’t designed for glass or wet environments.
How to avoid it:
-
Always use a white thin-set adhesive formulated for glass tiles. This keeps the colours bright and prevents dullness.
-
Prepare the wall or floor so it’s smooth, clean, and free of marks or patches.
-
Spread adhesive evenly with the correct notched trowel, and flatten the ridges before laying the sheets.
-
If your mosaics are very transparent, consider priming the substrate with a white base coat to ensure a uniform background.
-
Avoid ready-mixed mastics, especially in bathrooms, kitchens, or pools as they don’t always cure properly behind impervious glass.
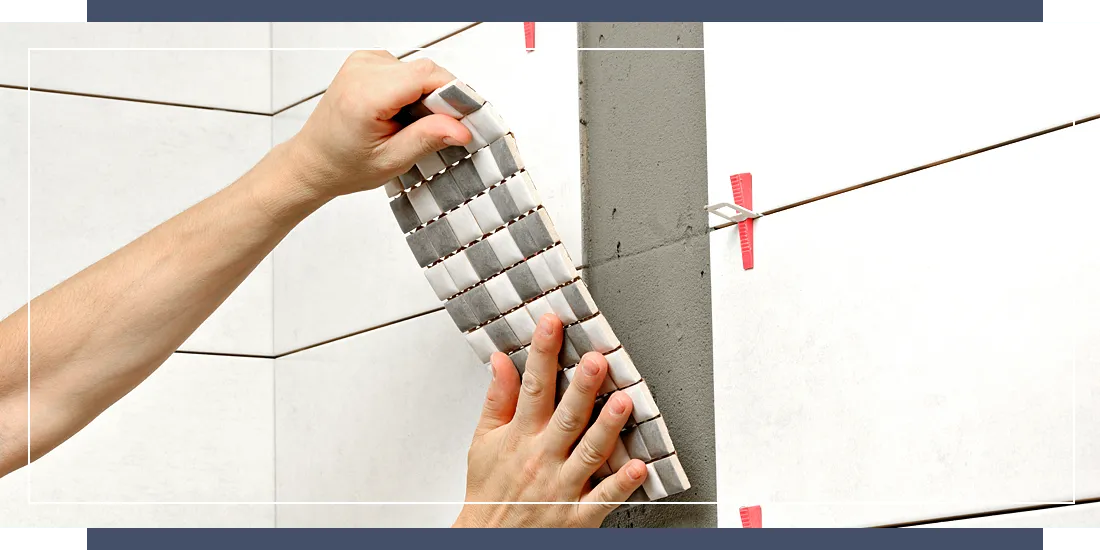
Mistake 4: Poor Alignment of Sheets
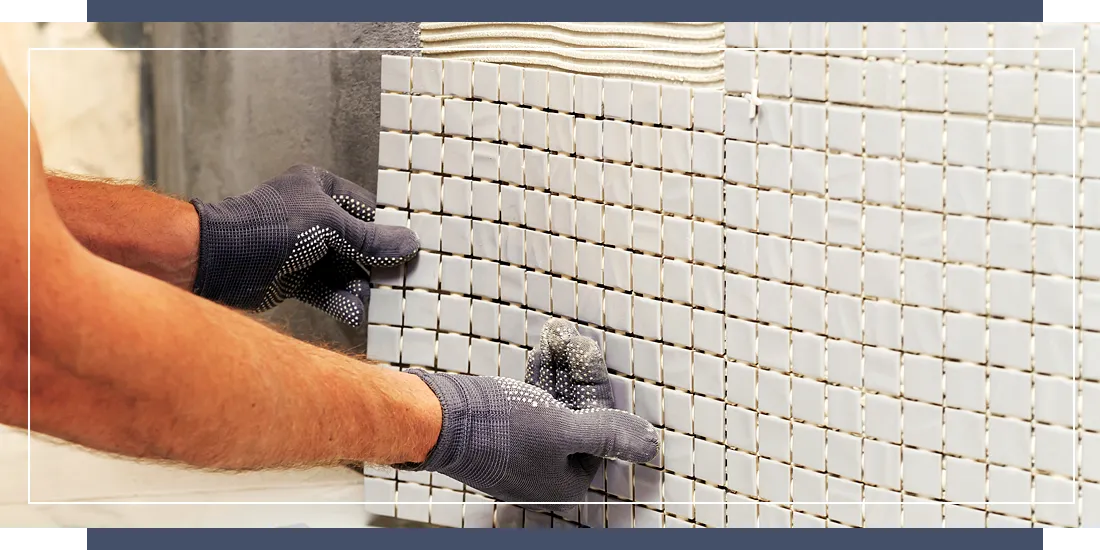
Glass mosaics are usually mounted sheets for easier handling, but relying on those sheets to “self-align” is a mistake. Without care, the joins between sheets become visible.
Why it’s a problem:
When sheet edges don’t blend smoothly, grid lines or misaligned rows stand out. This ruins the seamless, continuous effect mosaics are meant to create. Even a few millimetres of drift per sheet quickly becomes obvious on a larger wall.
What causes it:
This error often comes from rushing installation, not trimming sheets, or failing to step back and check the layout from a distance. It can also happen if the substrate is uneven and sheets are forced into place rather than adjusted.
How to avoid it:
-
Take your time with alignment and dry-lay a few sheets before fixing to see how they join.
-
Stagger sheet joins where possible so they don’t create visible grid lines.
-
Trim edges with scissors (for mesh-mounted mosaics) or a utility knife (for paper-faced mosaics) for better blending.
-
During installation, keep stepping back to view the wall from different angles. Small errors are easier to spot (and fix) early.
-
Consider using mosaic tile mesh which makes the sheets more rigid, easier to handle, and easier to align.
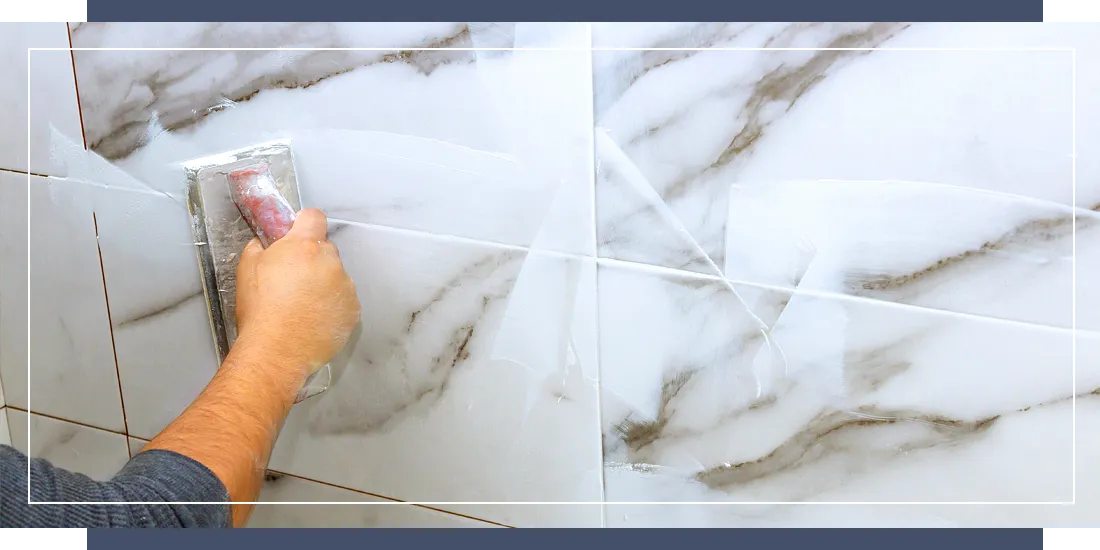
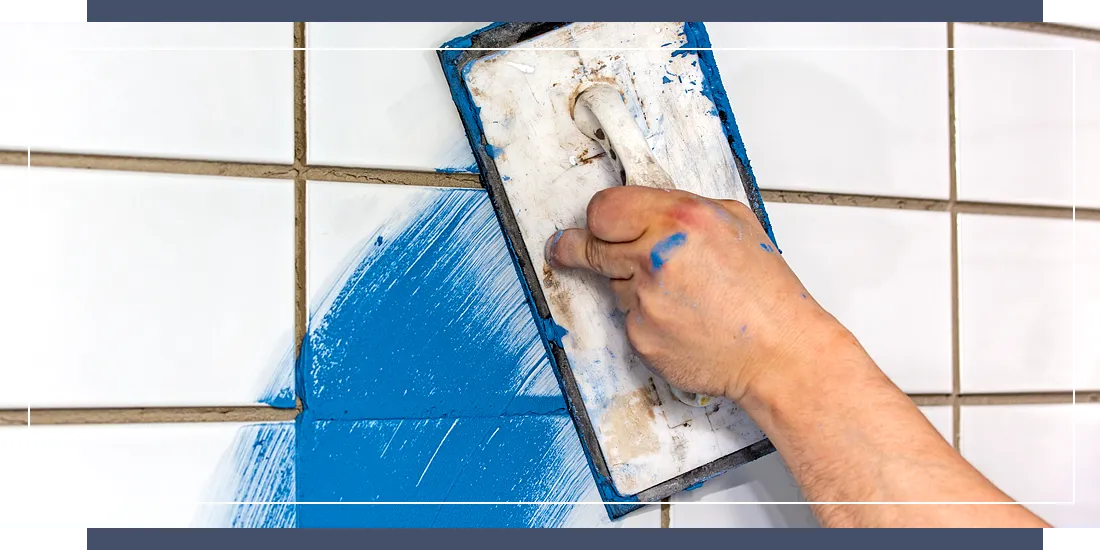
Mistake 5: Improper Grouting of Glass Mosaics
Grouting mosaics isn’t the same as grouting ceramic or stone. Using the wrong grout type, rushing the process, or cleaning too aggressively can damage the look permanently.
Why it’s a problem:
-
Sanded grout can sometimes scratch the surface of glass.
-
Grout haze dulls the shine, especially on glossy or iridescent mosaics.
-
Over-wiping with a sponge can drag grout out of the shallow joints, leaving them patchy.
-
Leaving haze too long makes it extremely difficult to remove.
What causes it:
This mistake often happens because people assume the same grouting method works for all tiles. Inexperienced DIYers may also panic about cleaning grout too soon, scrubbing too hard and pulling grout out of the joints.
How to avoid it:
Use unsanded grout for joints under 3 mm (which is standard for mosaics). Apply it firmly with a rubber float, ensuring all joints are filled. Wipe gently in diagonal strokes with a damp (not wet) sponge, and rinse often. Finally, buff haze away promptly with a microfiber cloth before it hardens.
For a more detailed walkthrough, head over to our Expert Step-by-Step Guide on How to Grout Glass Tiles
Mistake 6: Rushing the Process
Tiling with mosaics, and especially glass mosaics, requires patience at every stage. But many people try to move too quickly, whether by skipping prep, not letting adhesive cure, or rushing through grouting.
Why it’s a problem:
When it comes to achieving a beautiful finish to your tiling project, every stage builds on the last. Skipping or rushing one step almost always creates problems later: tiles slipping out of place, grout cracking, or water finding its way behind the mosaics. What should be a sleek, long-lasting finish ends up looking sloppy and failing prematurely.
What causes it:
This is usually down to inexperience or impatience. People don’t always realise how long curing takes, or they may be working to a tight schedule and try to cut corners. In some cases homeowners might simply be enthusiastic about wanting to get the project finished as quickly as possible, which can result in some stages being rushed.
How to avoid it:
-
Carefully plan the project in stages and allow enough time for each step.
-
Prepare the surface properly with levelling compounds or backer boards.
-
Allow adhesives and grout to cure fully before moving on. Check manufacturer’s stated times on the packaging.
-
Accept that mosaics take longer than large-format tiles, and factor that into your planning. Patience always pays off with a professional-looking finish that will look great for years.
Mistake 7: Cutting Glass Tiles Incorrectly
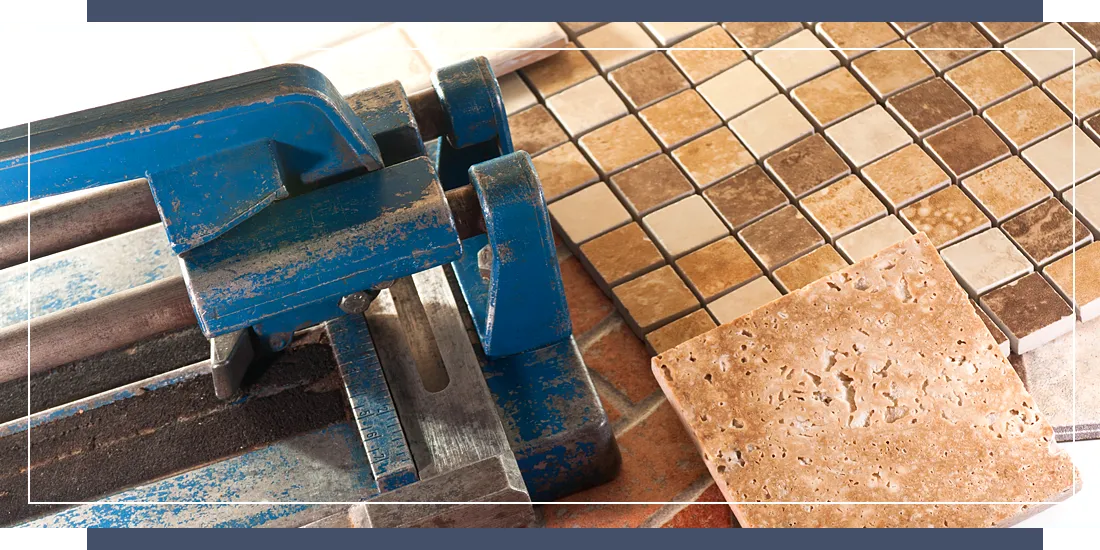
Cutting glass isn’t the same as cutting ceramic. Using the wrong tools or technique can crack, chip, or shatter the tiles, leaving rough edges and wasted material.
Why it’s a problem:
Poorly cut tiles look jagged and can compromise grout lines. Sharp edges are also a safety hazard, and cracks may spread once the tile is installed, reducing its lifespan.
What causes it:
This mistake often happens when people use a standard tile cutter meant for ceramic, or apply too much pressure. Inexperienced installers may also skip smoothing the cut edges, leaving them sharp.
How to avoid it:
Use the right tools:
-
For small cuts, use a glass tile cutter with a scoring wheel.
-
For more complex cuts, use a wet saw fitted with a fine diamond blade.
-
After cutting, smooth edges with a rubbing stone or diamond hand pad to reduce sharpness and prevent cracks spreading.
Mistake 8: Not Handling Different Mounting Systems Properly
Glass mosaics are mounted in different ways, including mesh-backed, paper-faced, or dot-mounted. Each requires slightly different handling, and treating them all the same can lead to problems.
Why it’s a problem:
If you don’t account for the mounting system, tiles can shift or detach during installation. For example, mesh adhesives may soften too quickly, and paper-faced mosaics can lift if the paper is removed incorrectly.
What causes it:
Inexperience. Many DIYers aren’t aware that not all mosaics come on mesh, and they don’t follow the manufacturer’s instructions for handling paper-faced or dot-mounted sheets.
How to avoid it:
-
Always check the mounting system before you start.
-
With mesh-backed mosaics, use the correct adhesive and avoid over-wetting the mesh.
-
With paper-faced mosaics, install with the paper facing outward, then soak and peel carefully once the tiles are set.
-
With dot-mounted mosaics, check that adhesive fills around the dots fully so grout coverage is consistent.
Mistake 9: Choosing Grout Colour Without Testing
The colour of grout can dramatically change the look of glass mosaics, but many people choose it straight from a chart without testing it with the actual tiles.
Why it’s a problem:
Grout colour can completely alter the appearance of a glass mosaic installation. Light grout blends the tiles into a smooth field, dark grout emphasises every joint, and coloured grout can completely shift the overall tone of the surface. If the choice isn’t tested, the result may look very different to what you expected, which can sometimes be disappointing.
What causes it:
People often assume grout is a minor detail and underestimate its impact. Others are swayed by how grout colours look on a sample board, which may not match the effect on their own glass mosaics.
How to avoid it:
-
Think carefully about the look you want to achieve in your space and the grout needed to work with your chosen glass mosaics.
-
Always test grout with a sample sheet of mosaics before committing.
-
Apply a small amount between the tiles, let it dry, and view it under your room’s actual lighting. This extra step avoids surprises and helps ensure the grout enhances, rather than clashes with, the glass.
Mistake 10: Ignoring Expansion & Movement Joints
Glass expands and contracts more than ceramic or stone when exposed to temperature changes. Failing to allow for this natural movement is a critical oversight.
Why it’s a problem:
If expansion joints aren’t included, the stress of thermal movement can cause cracks in the grout or tiles, or even cause whole sections of mosaics to pop off the wall. This is especially an issue near windows, in kitchens, or outdoors where surfaces are exposed to heat and cold.
What causes it:
Installers sometimes treat glass like other tile materials and assume expansion isn’t a concern. In some cases, joints are skipped to save time or because they’re seen as “breaking up” the design.
How to avoid it:
-
Follow industry guidelines for movement joints.
-
Leave space at perimeters and between large tiled areas, and use a flexible sealant in these gaps.
-
In areas prone to temperature variation, such as pools, kitchens, or exterior walls, never skip expansion joints; they’re essential for the long-term stability of the installation.
Achieving a Flawless Finish With Glass Mosaics
Glass mosaic tiles are one of the most rewarding materials to work with. They’re durable and versatile for use throughout the home. And the unique way in which they play with light enables you to add a beautiful, high end finish to any space.
Being aware of the most common mistakes, and taking a little extra care with preparation, alignment, and grouting, means you’ll be well-equipped to achieve a finish that looks professional and lasts for years. The key is not to rush, and to plan ahead. With patience and the right approach, your glass mosaic tiles will add lasting colour, light, and character to your home.
Need a little extra help?
Get in touch with us for expert advice on anything mosaic tile related, or browse our full range of glass mosaics for inspiration.
Mosaic Village Is Rated 'Excellent'
 Don't just take our word for it. Hear what our customers have to say!