JustStick Self-Adhesive Tile Installation Guide
Installing self-adhesive tiles is a quick, easy way to give your home a new look. JustStick peel-and-stick tiles are specifically designed for straightforward application, requiring minimal tools and effort.
In this guide, we’ll walk through each step to ensure a successful installation. We’ll also provide advice about surface preparation and offer tips for avoiding mistakes.
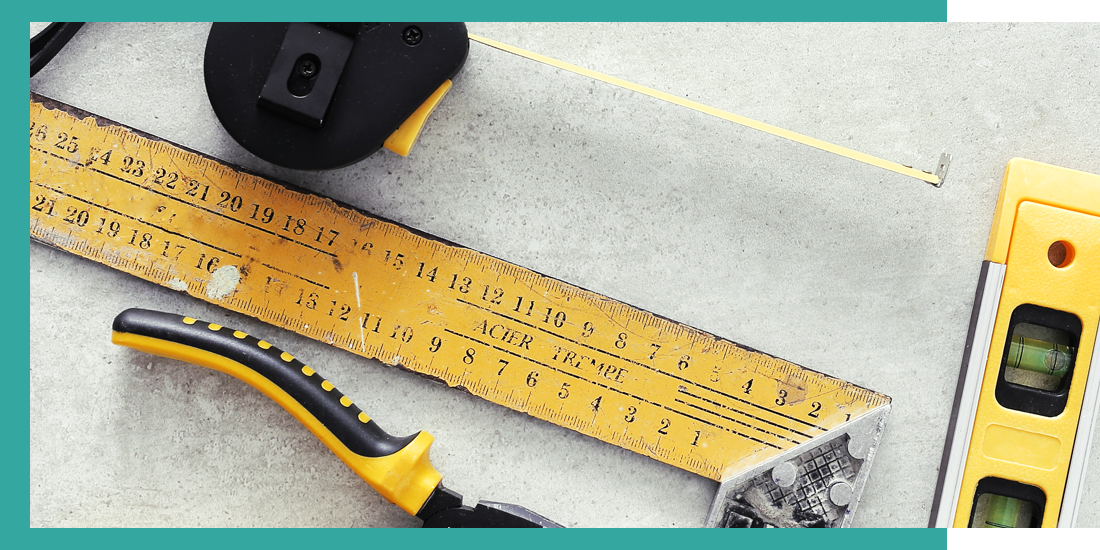
Tools Required
-
Utility knife or scissors (for trimming tiles)
-
Measuring tape (for accuracy)
-
Level (to ensure straight lines)
-
Cloth or roller (to smooth out air bubbles)
Step-by-Step Installation Guide
Step 1: Measure & Plan
Measure the area carefully and plan your tile layout. Start by measuring and marking the centre of the wall or floor for a symmetrical design. If you have the space, you may want to lay your tiles out on the floor as a dry run to check that everything looks good. Check for balance, symmetry and try to eliminate any awkward cuts at the edges of the tiled area.
It’s also recommended to leave your tiles in the room you’ll be using them in to acclimatise for 48 hours before beginning the installation.
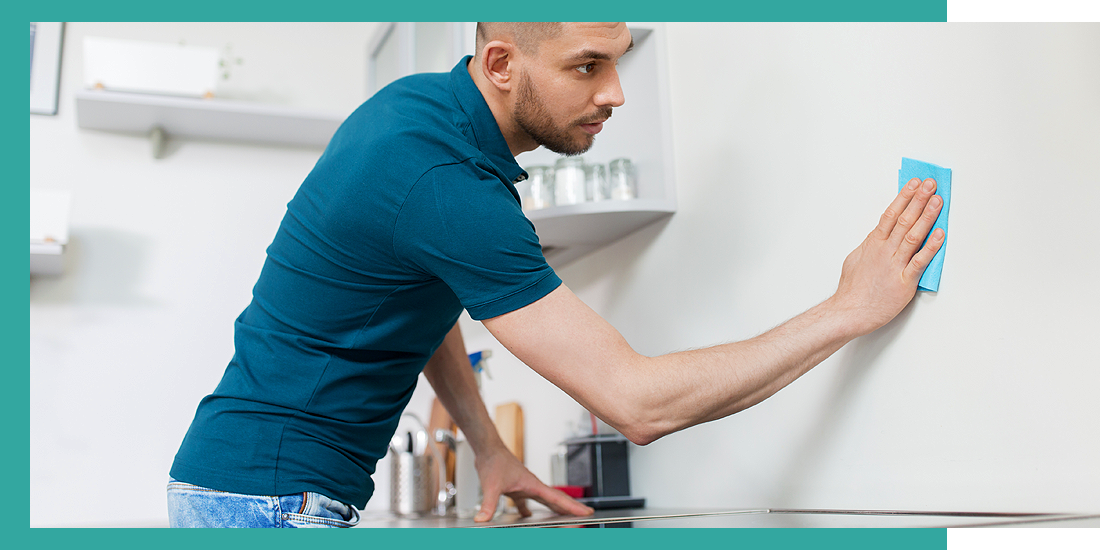
Step 2: Prepare the Surface
Before any tiles are installed, thoroughly clean the surface that you will be applying them to. Use a mild cleaner to remove any dirt, grease, or dust, as a clean surface ensures the best adhesion. Allow the area to dry completely before proceeding.
As with most DIY projects, taking the time to prepare your surfaces properly is well worth it when you see the end results. Self-adhesive tiles are suitable for most surface types, however some may need to be prepped a bit differently. You can find specific guidelines for preparing various surfaces further down this page.
Step 3: Peel & Stick
Begin applying the tiles. It’s usually best to start from the bottom edge and work your way up. In a lot of cases it makes sense to start at the centre point and work outwards, however depending on the layout and shape of your wall, you might wish to start from a corner.
Peel the backing off each tile and press it firmly onto the surface. Use a cloth or roller to smooth out air bubbles and ensure adhesion across the full surface of the tile, working from the centre outwards for the best result.
Step 4: Trim & Finalise
Trim tiles as needed around sockets, corners, or edges for a clean look. Once all tiles are applied, press each one again to ensure they are securely adhered.
While we all try to avoid errors when undertaking DIY tasks, one of the benefits of self-adhesive tiles is that they can be cut more easily and quickly than porcelain, glass or ceramic. So if you do make a mistake when trimming a tile that can’t be rectified, you can try again without delaying your project.
Preparing Different Types of Surface For Self-Adhesive Tiles
Proper surface preparation is essential to ensure that self-adhesive tiles adhere firmly and last for years. Different surfaces require different preparation steps to achieve the best results. Follow these guidelines for the type of surface you’re applying your self-adhesive tiles to:
Painted Walls
For painted walls, especially those with satin or gloss finishes, lightly sand the surface with fine-grit sandpaper to create a slightly rougher texture. This helps the adhesive bond more effectively. After sanding, wipe down the wall with a damp cloth to remove any dust and allow it to dry completely.
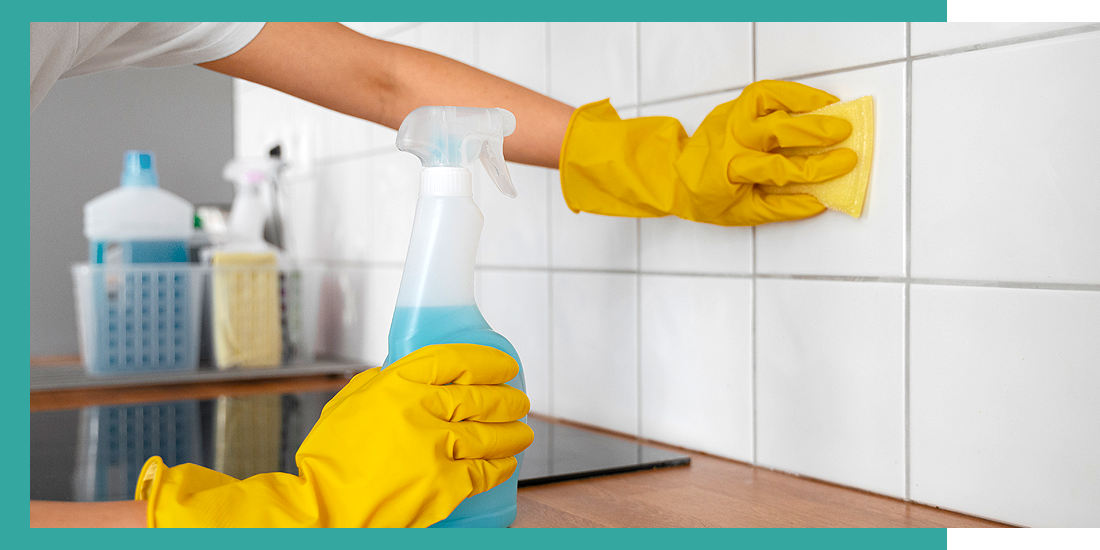
Existing Tiles
Self-adhesive tiles can be applied over existing tiles, as long as the surface is smooth and clean. Start by thoroughly cleaning the existing tiles to remove any soap scum, grease, or debris. Use a mixture of water and mild dish soap or a specialised tile cleaner, then rinse and let dry. If there are deep grout lines, especially if they’re cracked or crumbling, fill them in with a grout repair kit or a skim coat of adhesive filler to create a flat, even surface for the self-adhesive tiles to stick to.
Textured or Uneven Walls
Self-adhesive tiles adhere best to smooth surfaces, so textured or uneven walls may require extra preparation. Sand down high points or fill in rough areas with a wall filler to achieve a smooth, level surface. Once smooth, clean the wall and allow it to dry. If the wall is still slightly uneven, consider applying a layer of thin plywood or smooth backer board over the surface before installing the tiles.
Drywall
For standard drywall, clean the surface with a damp cloth to remove dust or residue. If the drywall is newly painted, allow it to fully cure (typically 2-3 weeks for latex paint) before applying the tiles, as fresh paint can reduce adhesion.
Laminate or Glass Surfaces
Clean laminate or glass surfaces thoroughly with a glass cleaner or isopropyl alcohol to remove any oils, fingerprints, or residues that could interfere with adhesion. Wipe down with a lint-free cloth and allow it to dry. For extra bonding strength, you can lightly sand the surface or apply a bonding primer that helps self-adhesive tiles adhere securely to smooth surfaces.
Wood Surfaces
For wood surfaces, ensure that they are clean, dry, and as smooth as possible. Lightly sand rough or porous wood to create a level surface, and consider applying a primer or sealer to prevent the wood from absorbing moisture and compromising the adhesive. This step is especially important if the wood is untreated or in a humid environment such as a bathroom.
Common Mistakes to Avoid When Installing Self-Adhesive Tiles
Installing self-adhesive tiles is straightforward, but certain missteps can impact the final look and longevity of your project.
Here are some common mistakes to watch out for, along with tips on how to avoid them:
Skipping Surface Preparation
Failing to properly clean and prepare the surface is one of the most common mistakes when installing self-adhesive tiles. Dust, dirt, and grease can prevent the adhesive from sticking fully, causing tiles to peel or slip over time. Before you begin, ensure that the surface is clean, dry and free from debris.
Inaccurate Measurements and Layout Planning
Rushing through measurements or failing to plan your layout can result in uneven rows, awkward edges, or a mismatched design. To avoid this, take the time to measure both the surface and the tiles accurately. Mark the centre of the area to help create a balanced layout. Planning where each tile will go before starting is key to achieving a professional, symmetrical look.
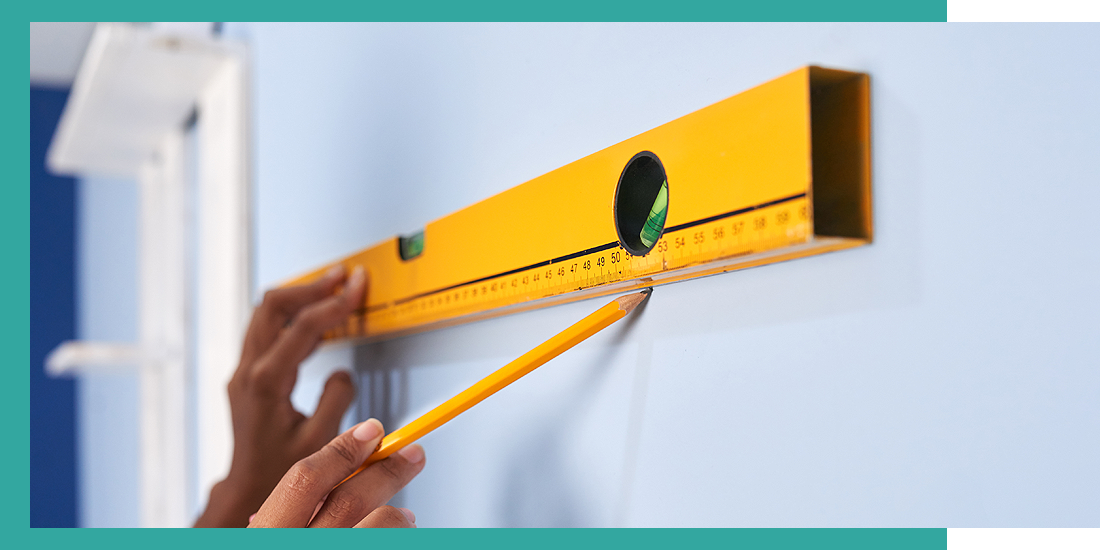
Not Using a Level for Straight Lines
Even a slight tilt can make rows of tiles appear misaligned. Using a level throughout the process helps ensure that your rows remain perfectly straight. Start with a guideline and check periodically to confirm alignment, or use a laser level to guide you, especially if you're covering a large surface. This step is essential for a polished finish, as even small misalignments can become very noticeable.
Overlooking Air Bubbles
Air bubbles are normal when applying self-adhesive tiles. These bubbles can cause tiles to lift, reducing their durability and creating an uneven appearance. To prevent this, smooth each tile immediately after sticking it to the surface. Use a soft cloth or a roller to push out any trapped air, starting from the centre and working toward the edges. Avoid using your fingers, as this may create more bubbles and dents in the adhesive layer.
Failing to Account for Temperature and Humidity
Self-adhesive tiles may not achieve maximum adhesion in rooms with high humidity or extreme temperature fluctuations. Installing tiles when the room is too humid or too cold can prevent them from sticking properly, and the adhesive may deteriorate over time. Try to install tiles in a controlled environment, for example by letting the extractor run for a while and wiping down surfaces before installing in a bathroom where somebody has recently used the shower.
Applying to Incompatible Surfaces
Not all surfaces are suitable for self-adhesive tiles. Textured walls, porous surfaces, and painted walls with a satin or high-gloss finish may prevent proper adhesion. For best results, apply the tiles to a smooth, dry surface like drywall, clean tile, or laminate. For other surfaces you may need to lightly sand or use a primer to ensure the best adhesion. If you’re placing them over existing tiles, ensure the grout lines are shallow and fill them if necessary for a flat surface.
Rushing the Cutting Process
Rushing when cutting tiles for edges, corners, or around outlets can lead to uneven cuts or visible gaps, reducing the overall polished look. Take your time with each cut, using a sharp utility knife and a ruler to guide you for clean edges. Make multiple light passes with the blade rather than trying to cut through in one go. This will give you a smooth, precise finish without damaging the tile.
Not Allowing for Adhesive Set Time
Although self-adhesive tiles are designed for immediate use, it’s best to avoid heavy use or exposure to moisture immediately after installation. Allow a few hours for the adhesive to fully cure before cleaning the tiles too thoroughly, or exposing them to water. In high-traffic or high-moisture areas, letting the tiles settle can make a big difference in their durability.
Frequently Asked Questions About Using Self-Adhesive Tiles

Q: Can self-adhesive tiles be used in wet areas, such as showers?
A: Self-adhesive tiles are suitable for use in bathrooms, however we would not usually recommend installing them in wet areas such as showers where they will be directly exposed to water.
Q: Do I need special tools to cut self-adhesive tiles?
A: No, self-adhesive tiles can typically be cut with a sharp utility knife, tile cutter or scissors. For precision, a utility knife may give the best results.
Q: Will self-adhesive tiles damage my walls if removed?
A: In most cases, self-adhesive tiles can be removed without causing significant damage to walls. To help release the adhesive, gently heat the tiles with a hair dryer and use a pallet knife to carefully separate them from the surface. You may simply need to lightly fill and repaint surfaces such as plaster following removal.
Q: Can I apply self-adhesive tiles over existing tiles?
A: Yes, it’s possible to install self-adhesive tiles over existing traditional tiles if the surface is clean and smooth, making them ideal for renters or temporary updates. In fact, this is one of the most popular ways to use them.
Q: How long do self-adhesive tiles last?
A: With proper installation and care, self-adhesive tiles can last several years. Their longevity will depend on the conditions in the area where they’re installed.
A Convenient Way To Transform Your Home
With the right preparation and techniques, installing self-adhesive tiles is a simple and rewarding project that brings style to any space. Whether you’re installing a new kitchen splashback or bringing a tired bathroom up-to-date, JustStick self-adhesive mosaics offer a convenient and straightforward way to achieve a beautiful finish. Discover our collection of self-adhesive tiles and start your project with ease!
Browse Self-Adhesive Mosaic TilesMosaic Village Is Rated 'Excellent'
 Don't just take our word for it. Hear what our customers have to say!